Can Iphone 5s Home Button Cable Re-attached Again?

The Home button on your iPhone 5s provides two main functions; information technology serves as a way to authenticate Touch ID and more than important, as a fashion for you to render to your Dwelling screen, go out apps, access multitasking, and more.
If you can no longer click your Home button, or pressing it does nil, it's possible the cablevision itself — or a contact on information technology — needs to be replaced. Hither's how to do it!
What you need to know almost Touch ID and Home button replacements: When the iPhone 5s was released, nosotros apace realized that the Touch ID sensor cable itself was tied to the logic lath. And since this cable is 1 in the same with the Home button flex cable, replacing the cable will return Touch ID unusable. This is something you'll definitely need to proceed in mind. If Home button functionality is important to you and you're okay bypassing the ability to employ Touch ID in gild to save some money on the price of a new iPhone, continue on. If not, consider going to Apple or an authorized service provider for your repair.
What you need to perform a DIY Home push button repair on iPhone 5s
Yous'll need some tools and parts in guild to repair your iPhone 5s, including the replacement assembly. iMore recommends using only quality and genuine parts from a reputable supplier like iFixYouri. They have quality parts, tools, and much more for all your repair needs.
- Replacement iPhone 5s Home flex cable
- Suction cup
- v-point security screwdriver
- Standard #000 Phillips screwdriver
- Spudger tool
- Razor blade
- iSesamo Opening tool (non necessary only awesome for prying upward cables and getting nether adhesive)
1. Ability off your iPhone 5s

Earlier performing any repair on any device, ever call back to ability it off. Just concur downward on the Power push button until you run across Slide to Ability off. One you're sure your iPhone 5s is turned off, continue to the adjacent section.
2. Remove the two security screws on both sides of the dock connector

There are two security screws that secure the screen to the frame and they sit on each side of the dock connector. Employ your 5-point security screwdriver to remove them. They are both the same size and so information technology's okay if yous mix them up.
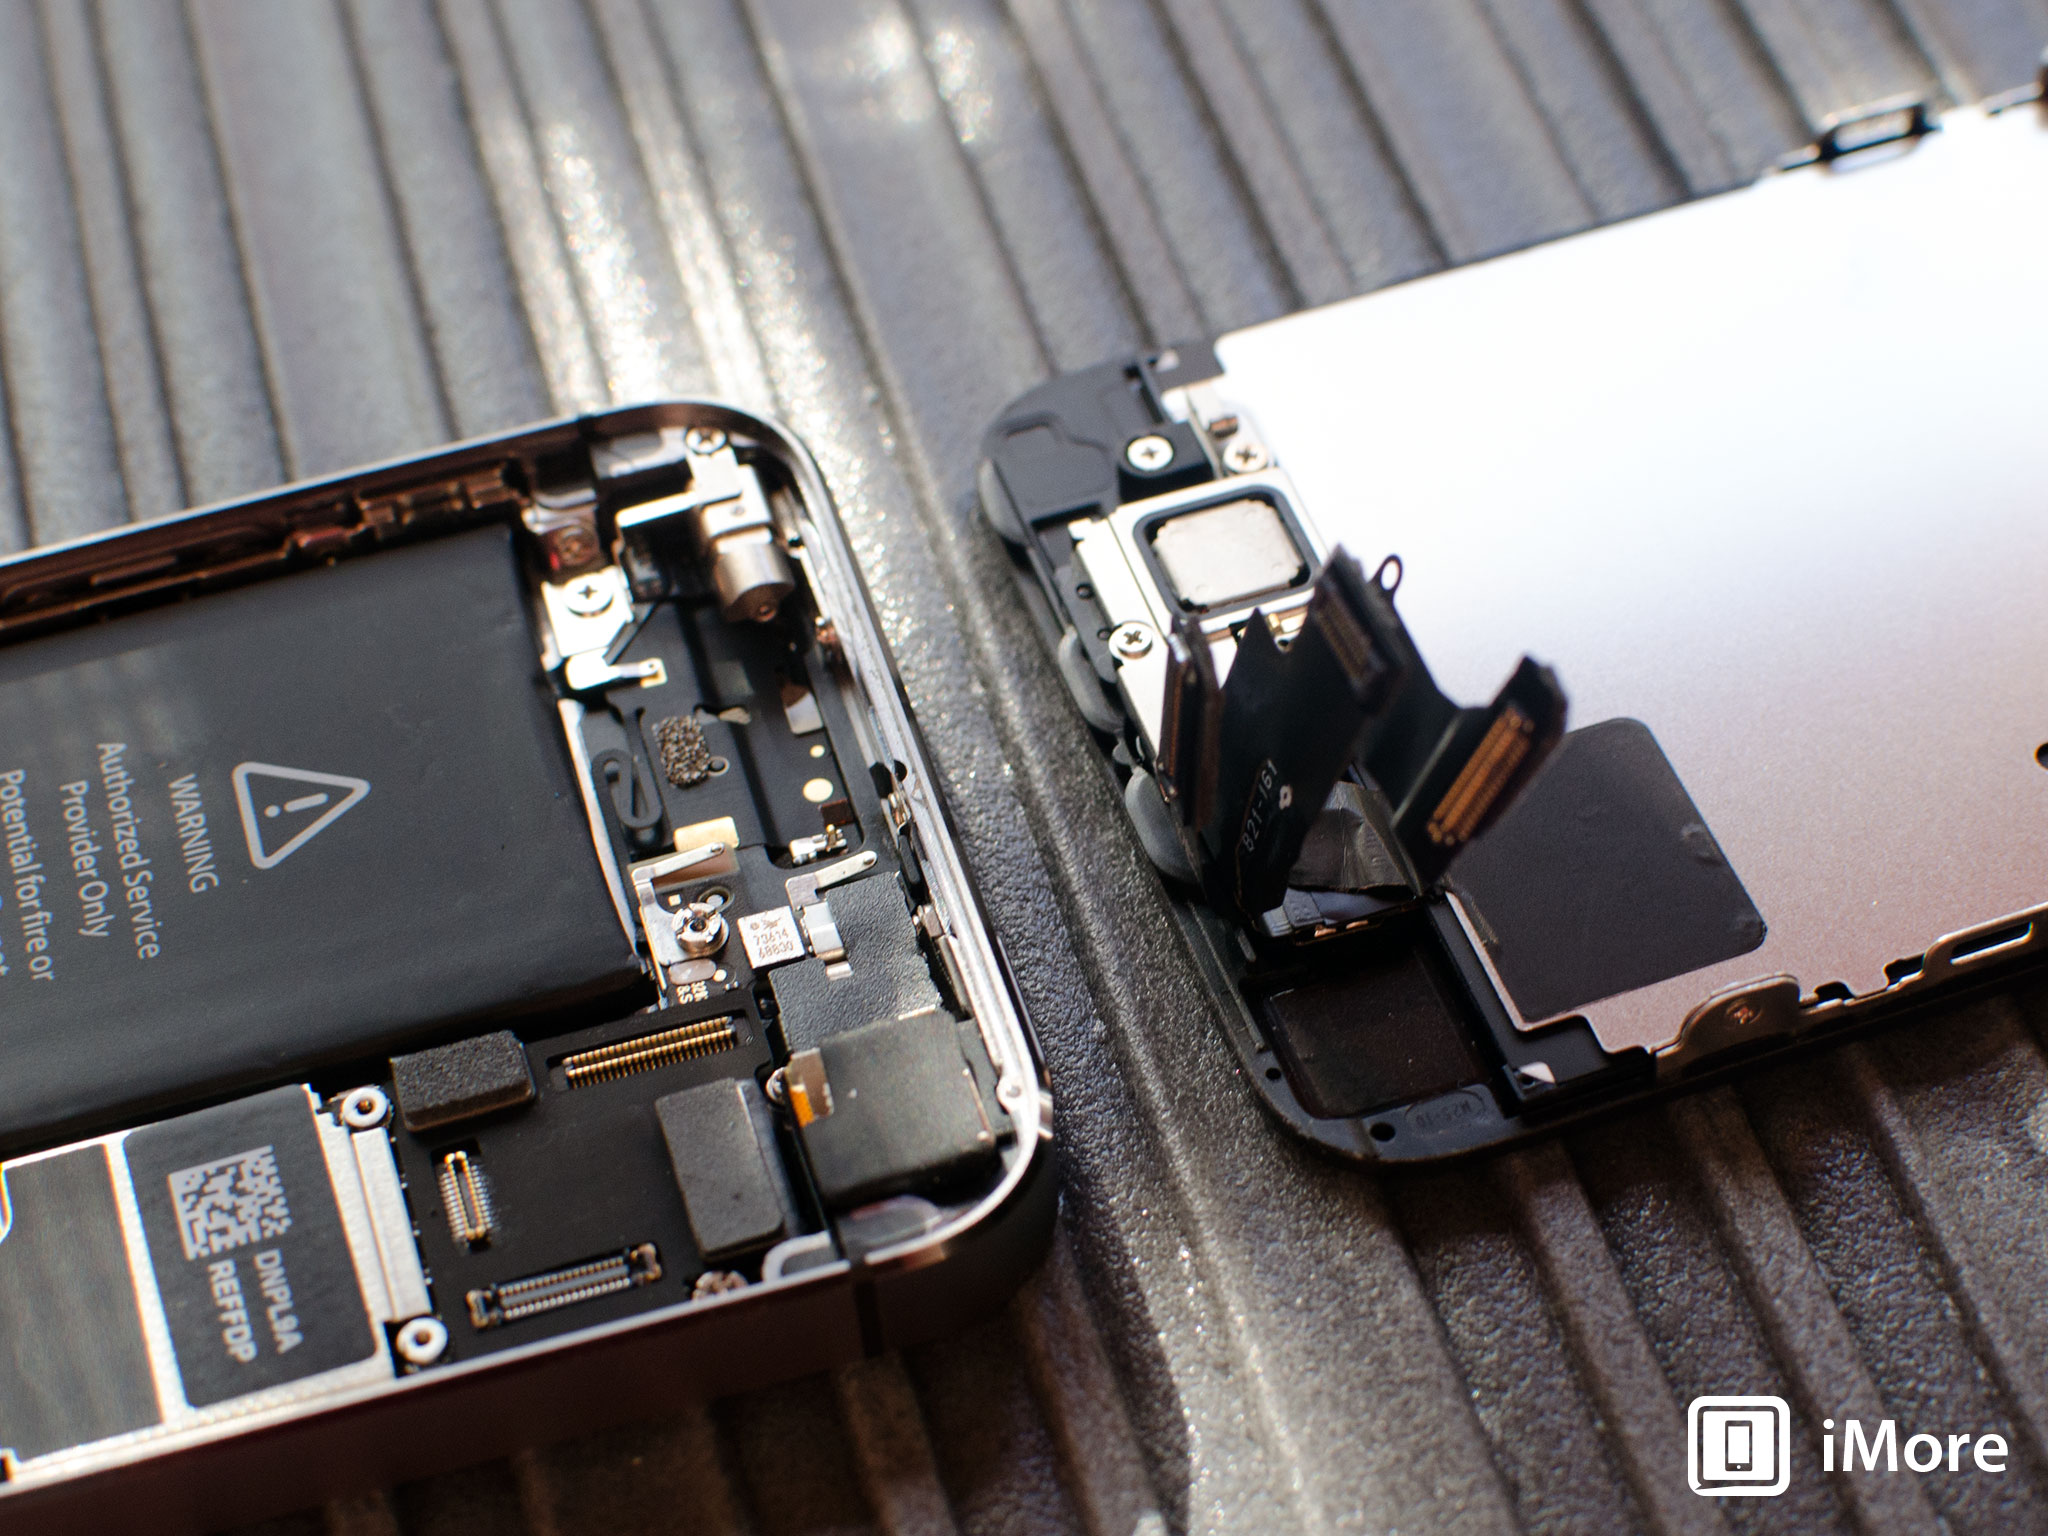
3. Remove the display brandish associates
- Place your suction cup slightly above the Home button assembly and secure it to the screen.
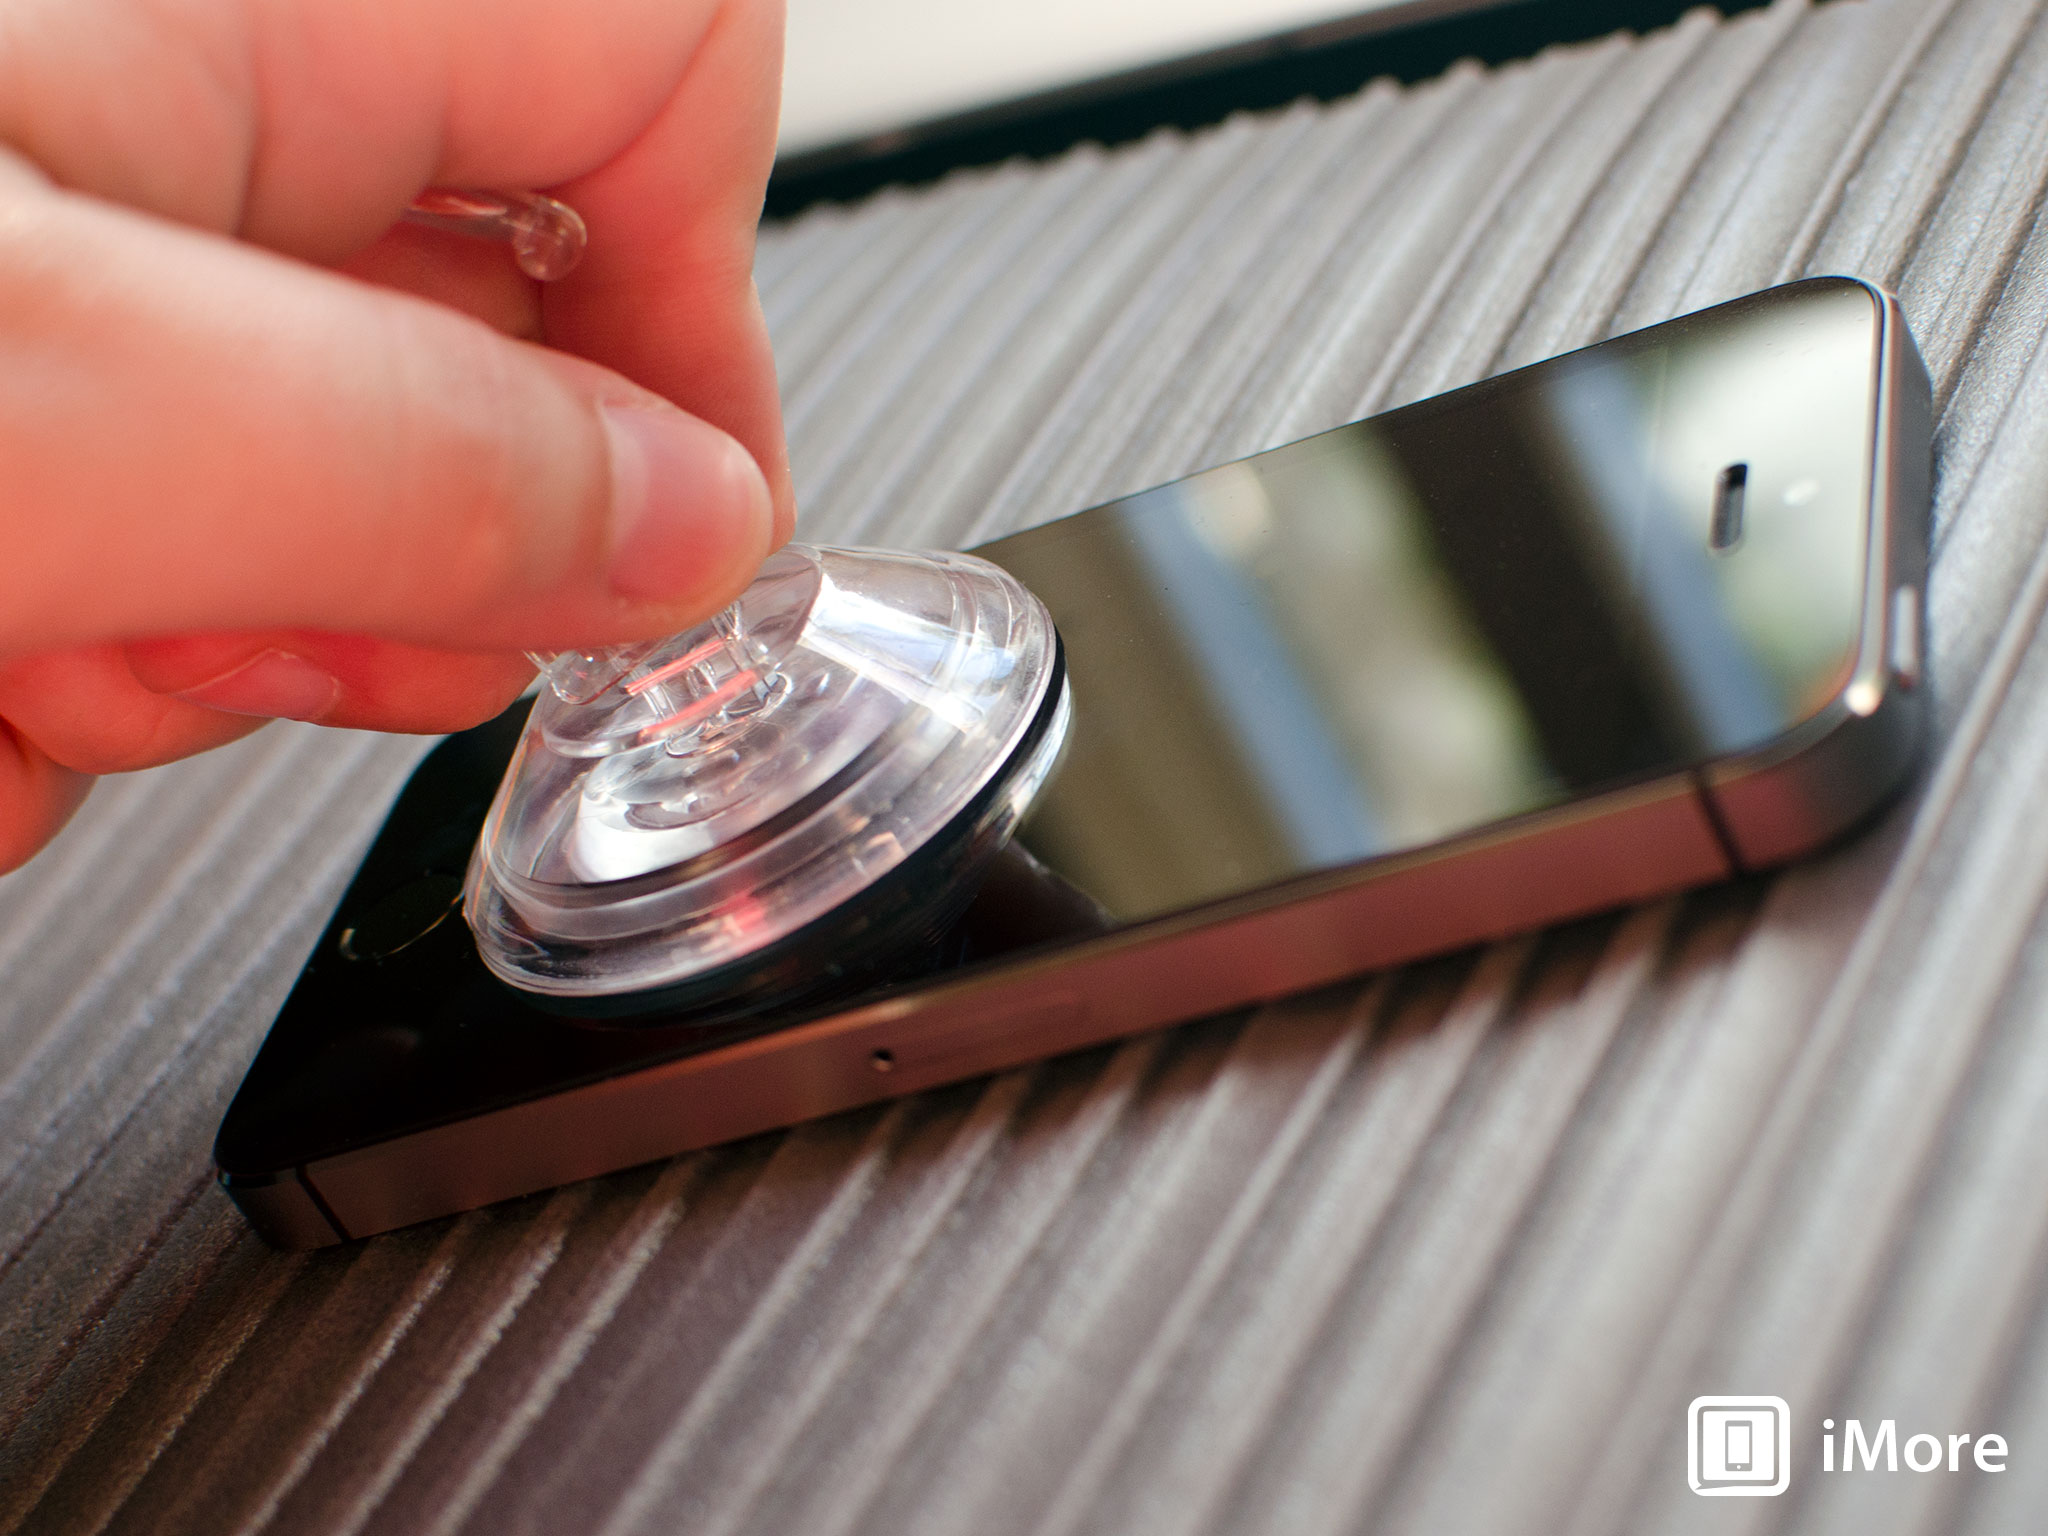
- Holding the iPhone in place with one hand, gently pull upwards on the suction cup until you gratis the lesser of the screen simply practice NOT pull up all the style at this point as a cable running to the Bear on ID sensor is nonetheless connected. Yous but want to separate the screen about an inch at this point.
- At present that you have a clear view of the cables, use the pointed edge of your spudger tool in club to advisedly remove the metallic shield covering the Touch ID cablevision.
- Make sure you don't lose the metal guard that covers the Touch ID connector.
- Once again, use the pointed border of your spudger tool in order to disconnect Touch on ID.
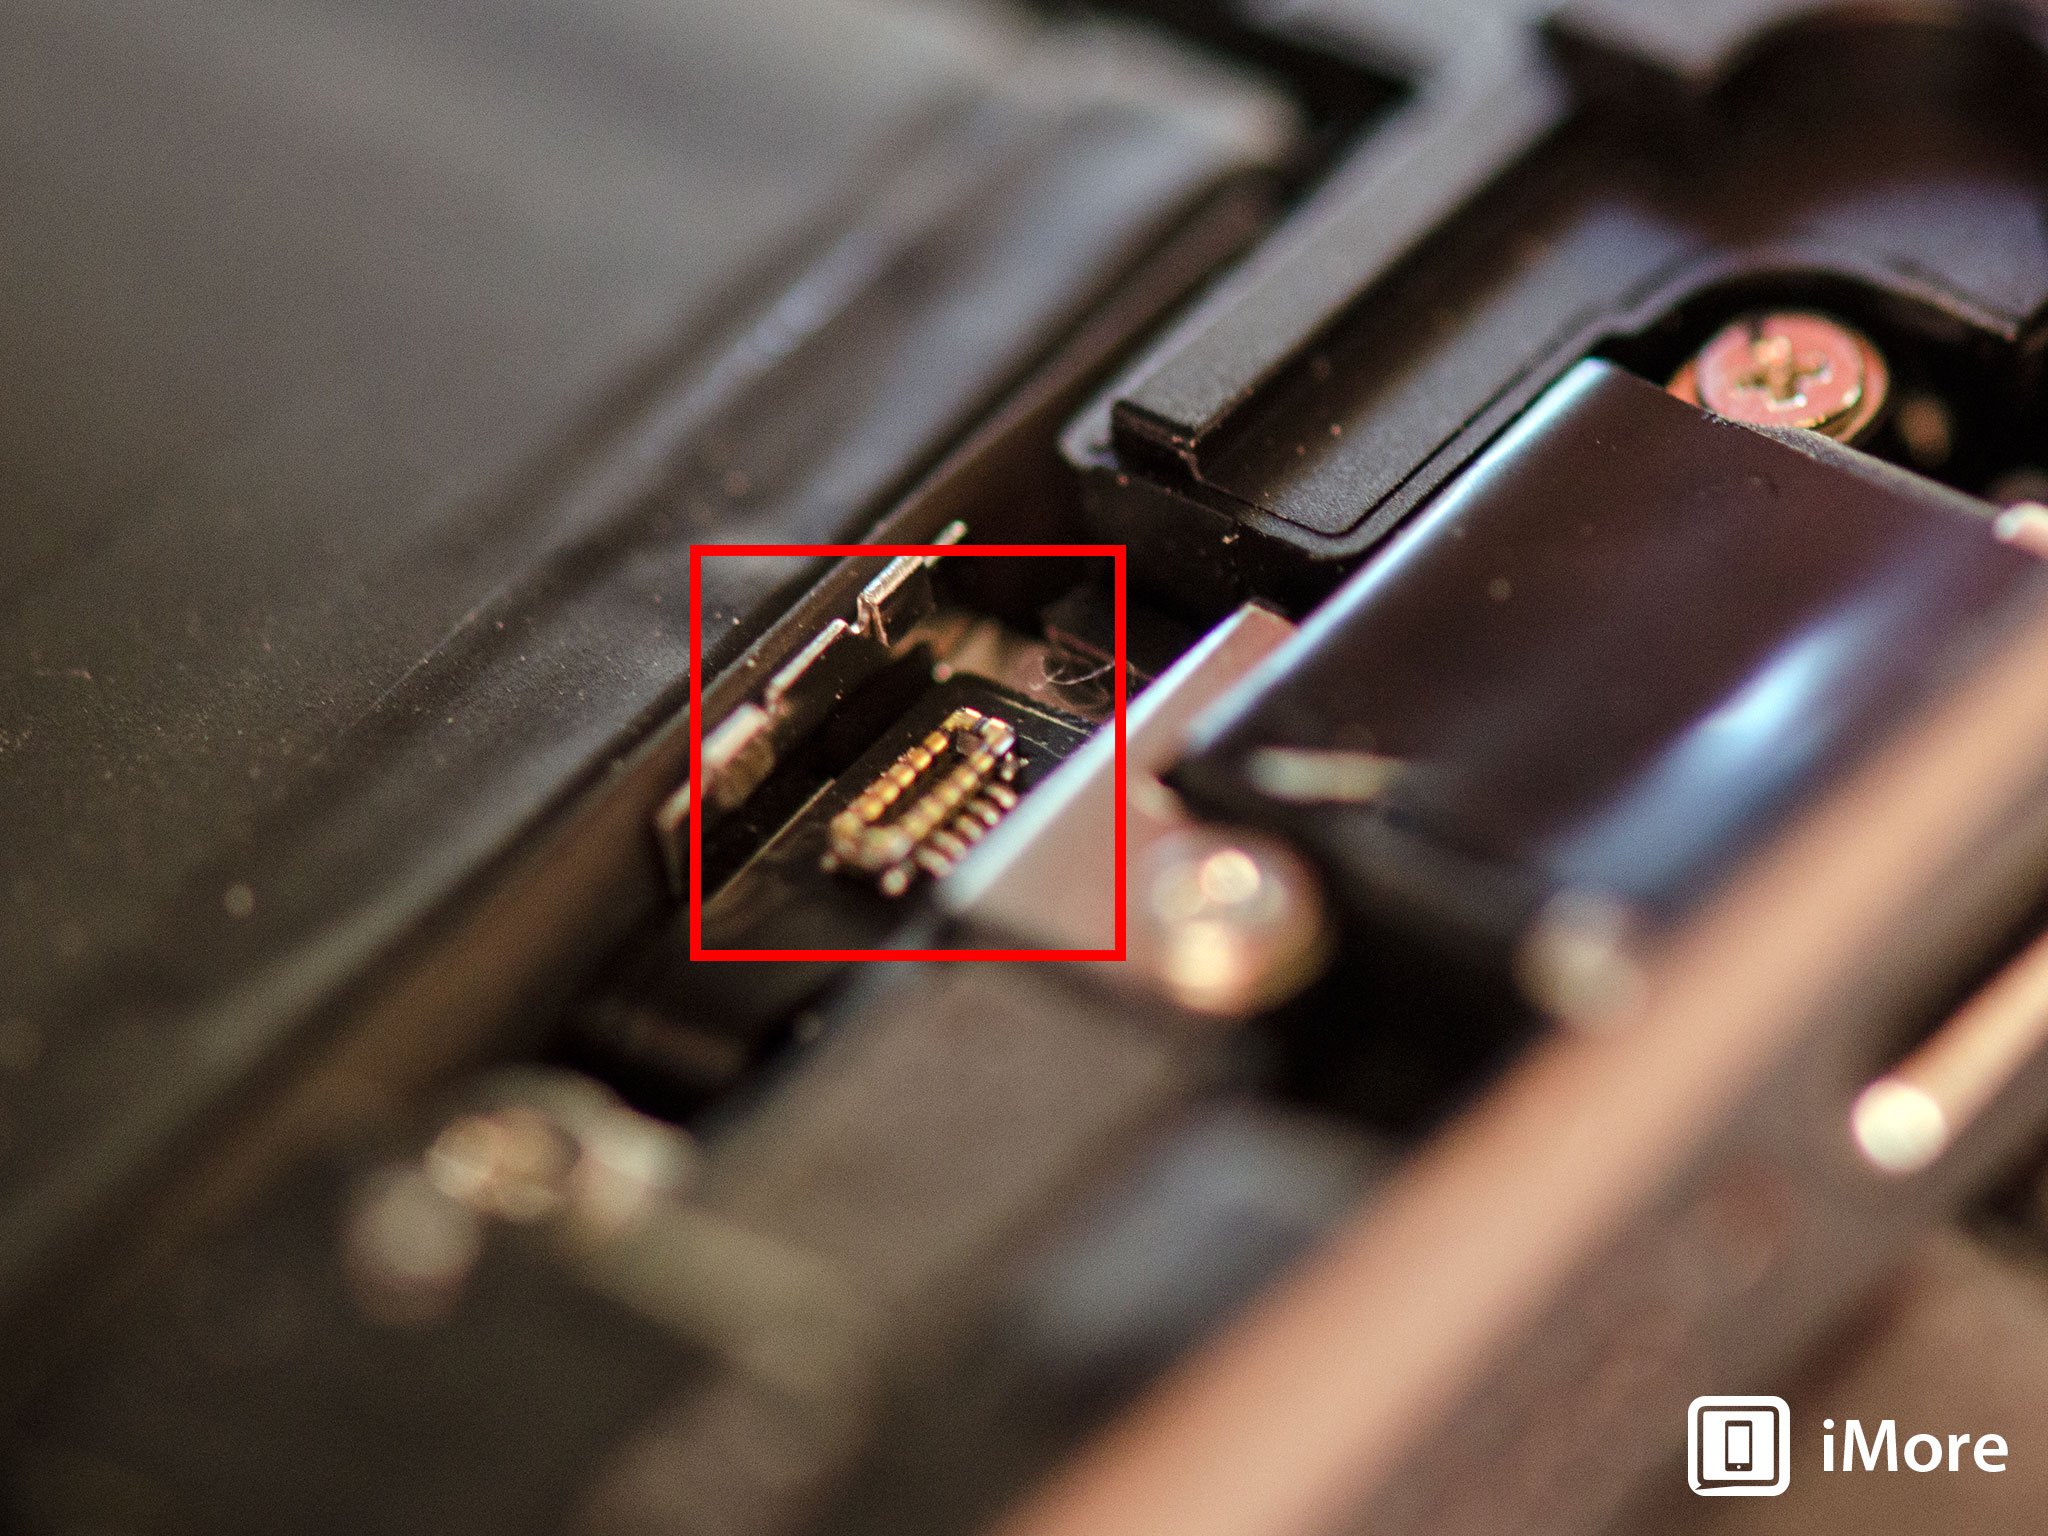
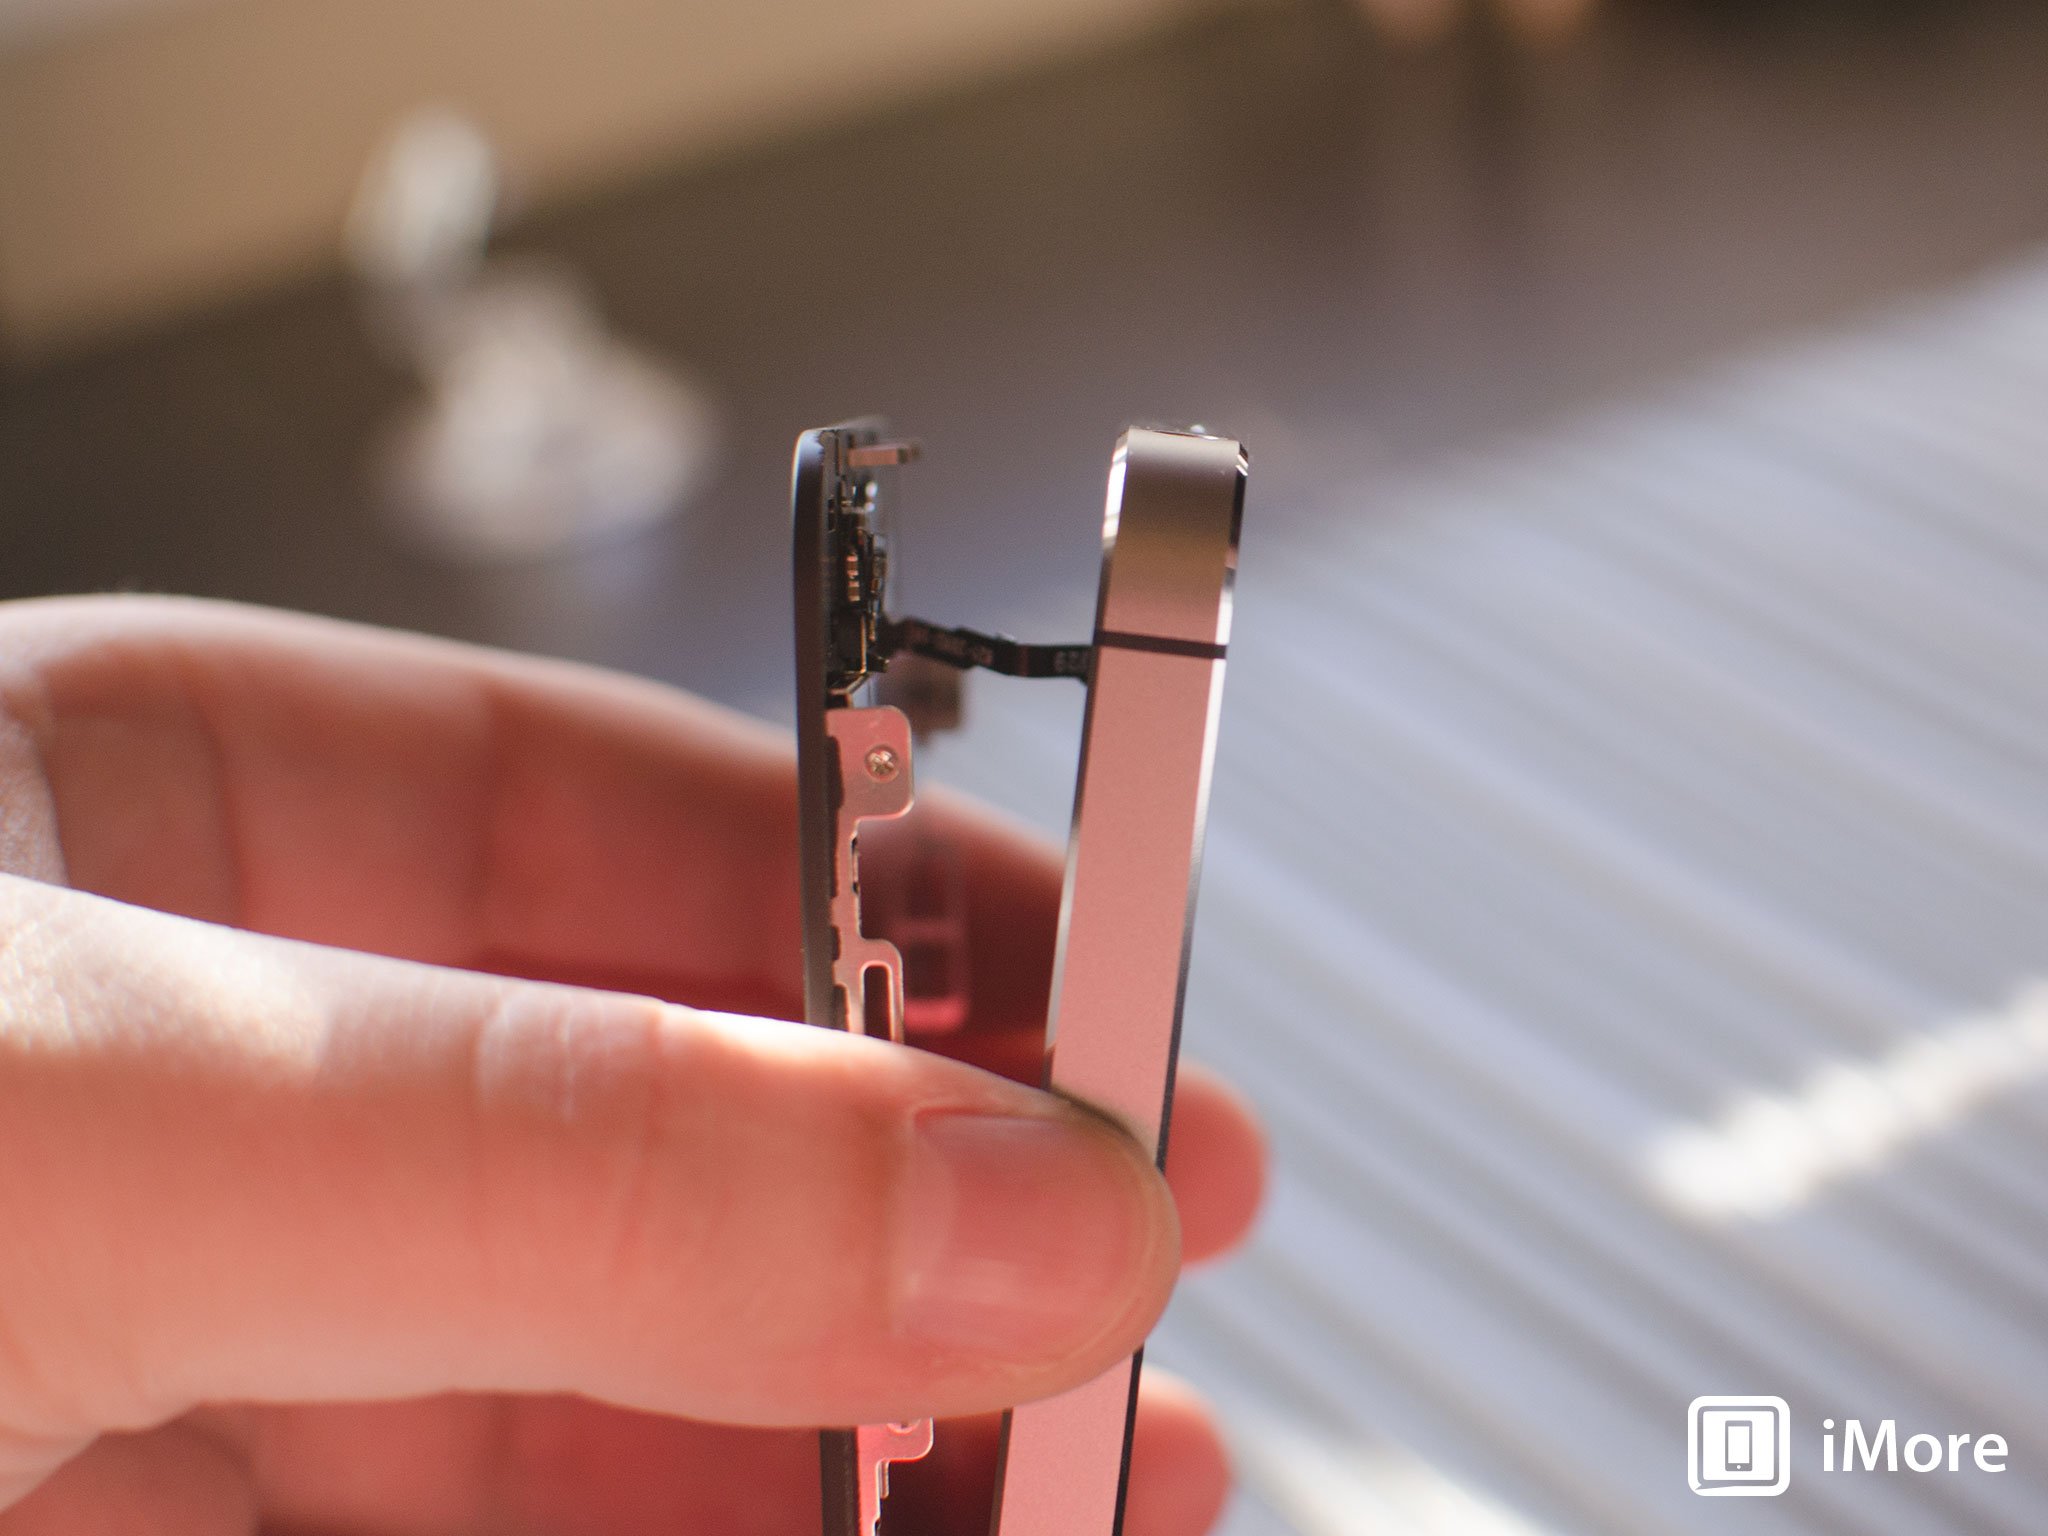
- You tin now safely swing the display up more in social club to encounter where it is continued to the board.
- Remove the four screws holding down the shield that covers the brandish cables. To practice this, use your #000 screwdriver.
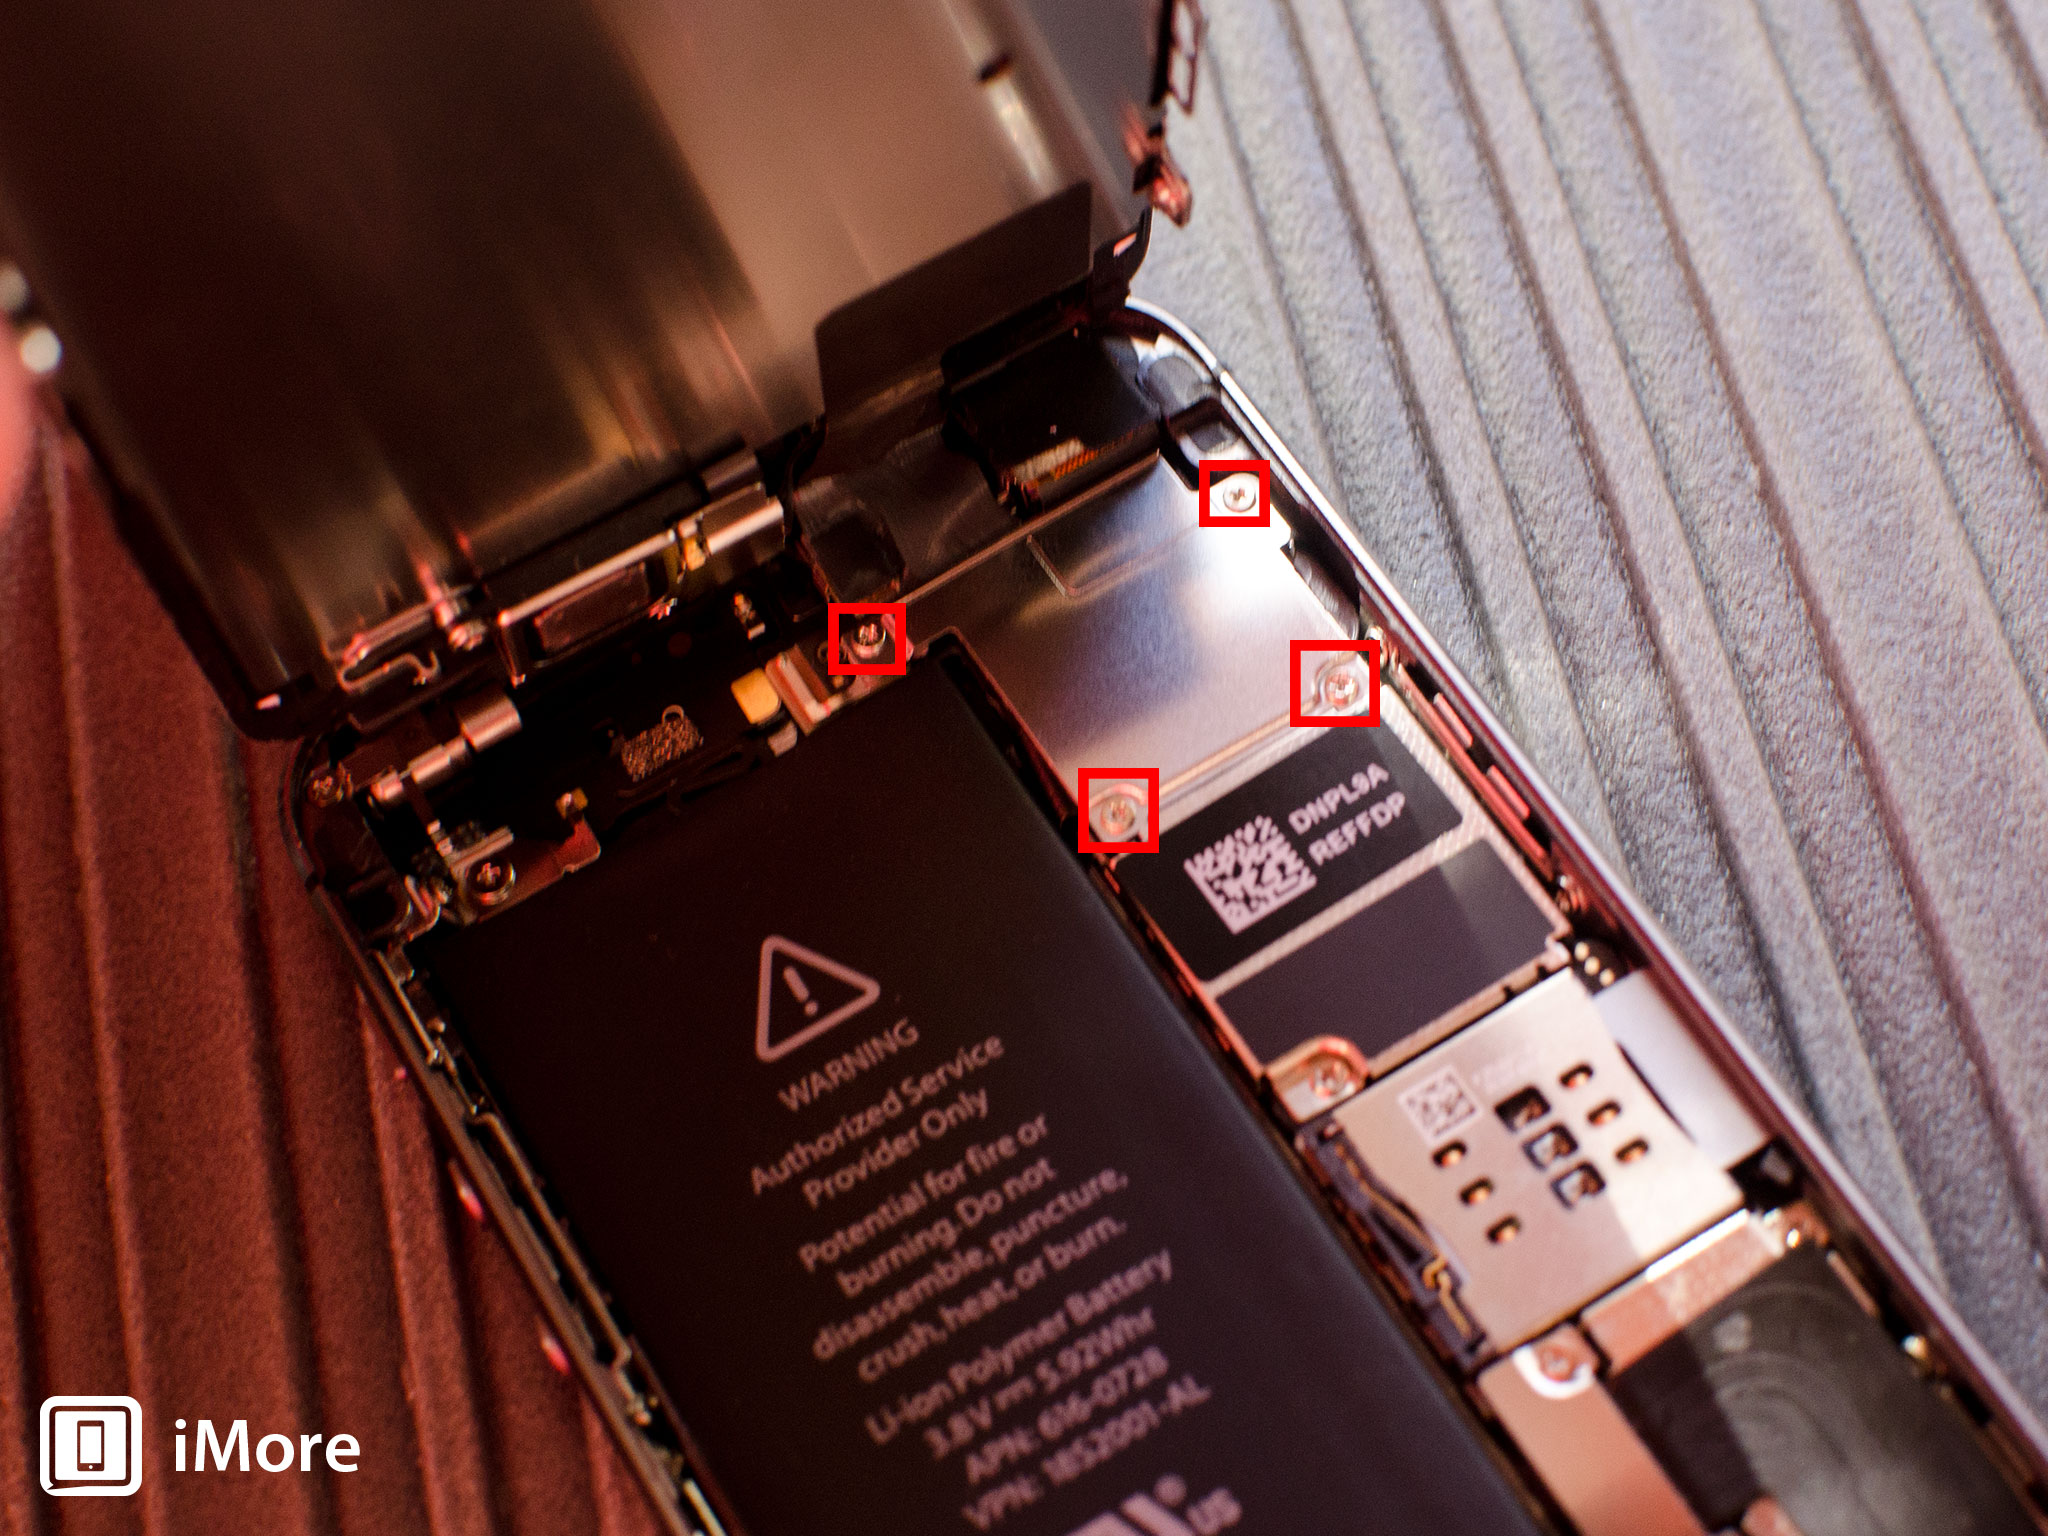
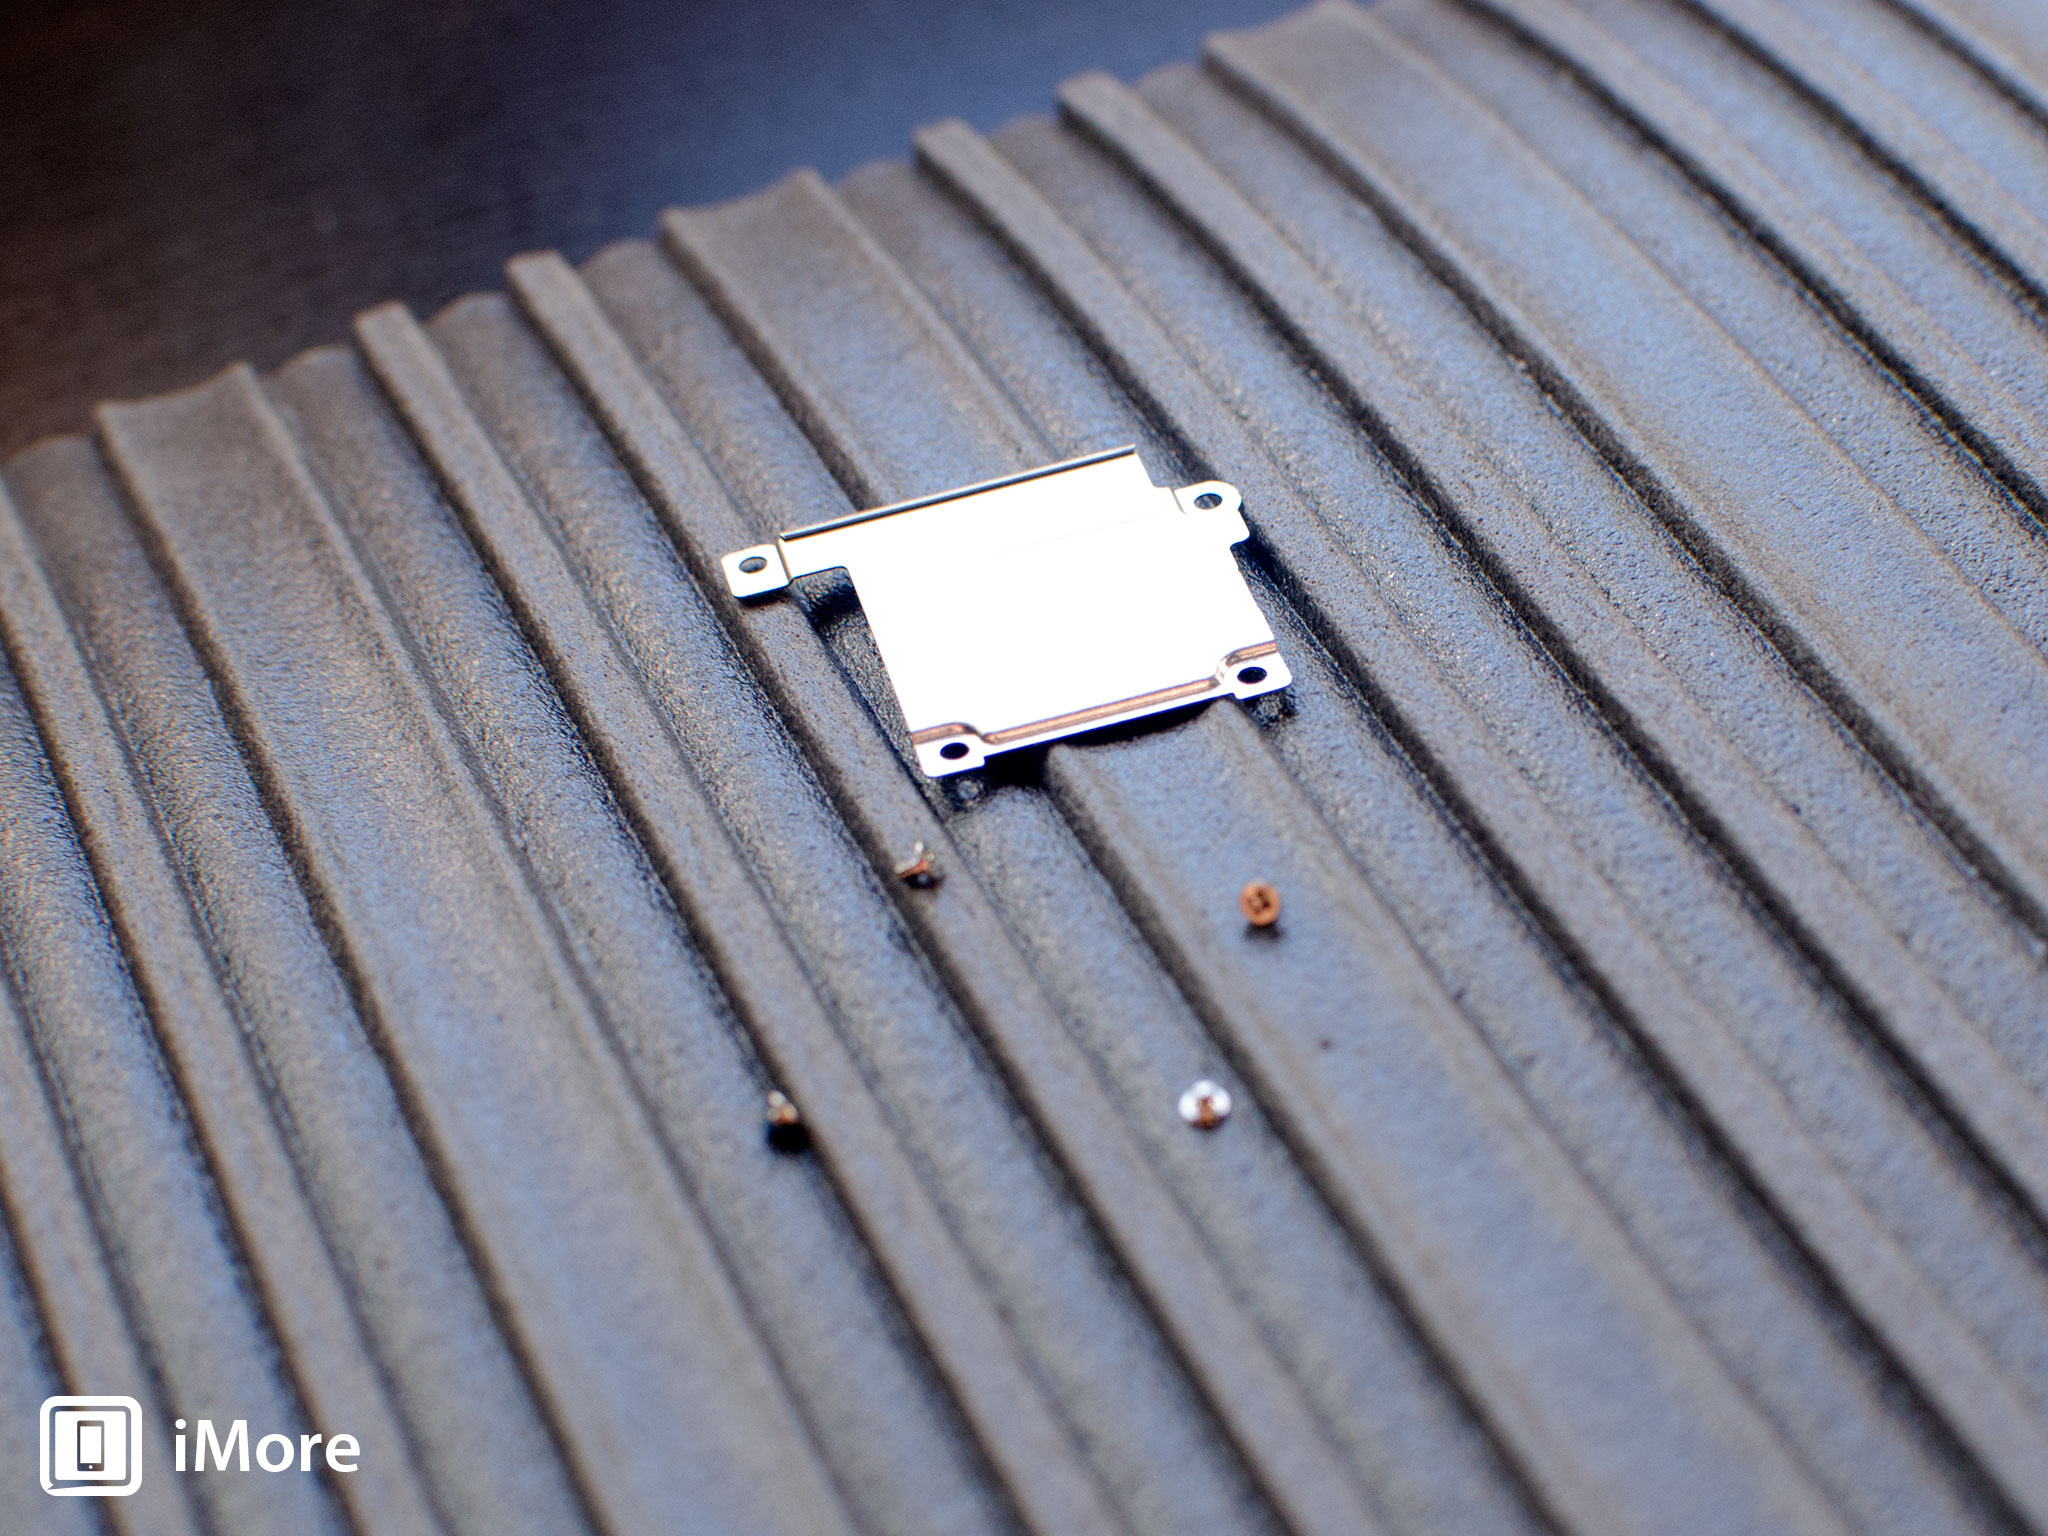
- Once all four screws are removed, carefully remove the shield and fix it aside.
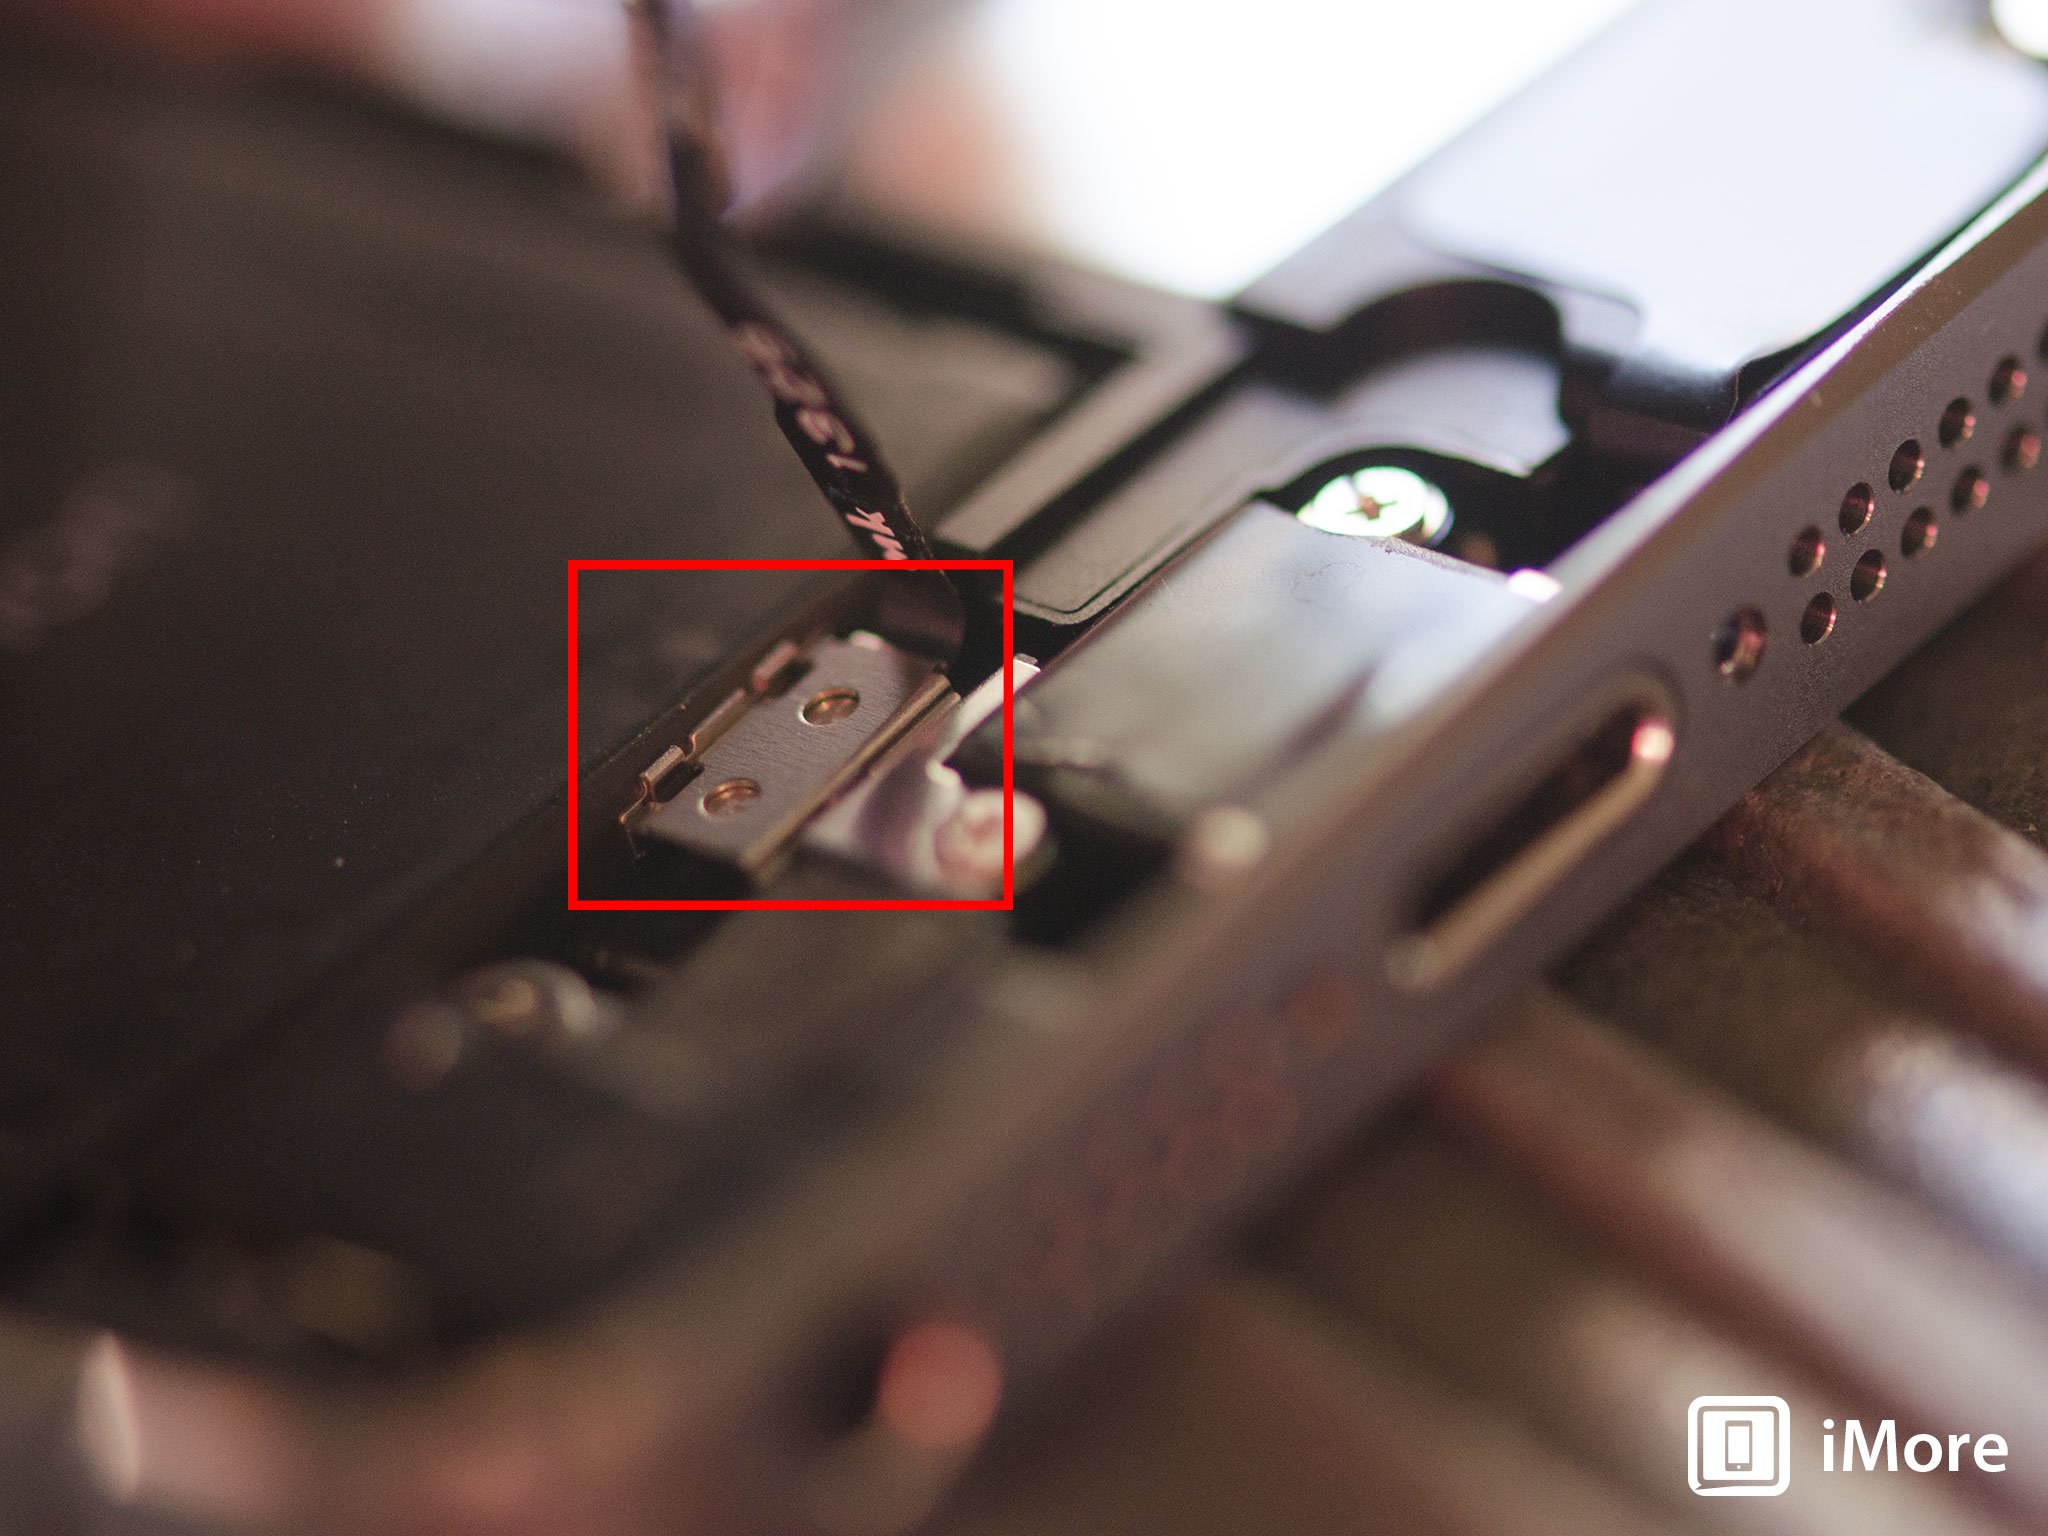
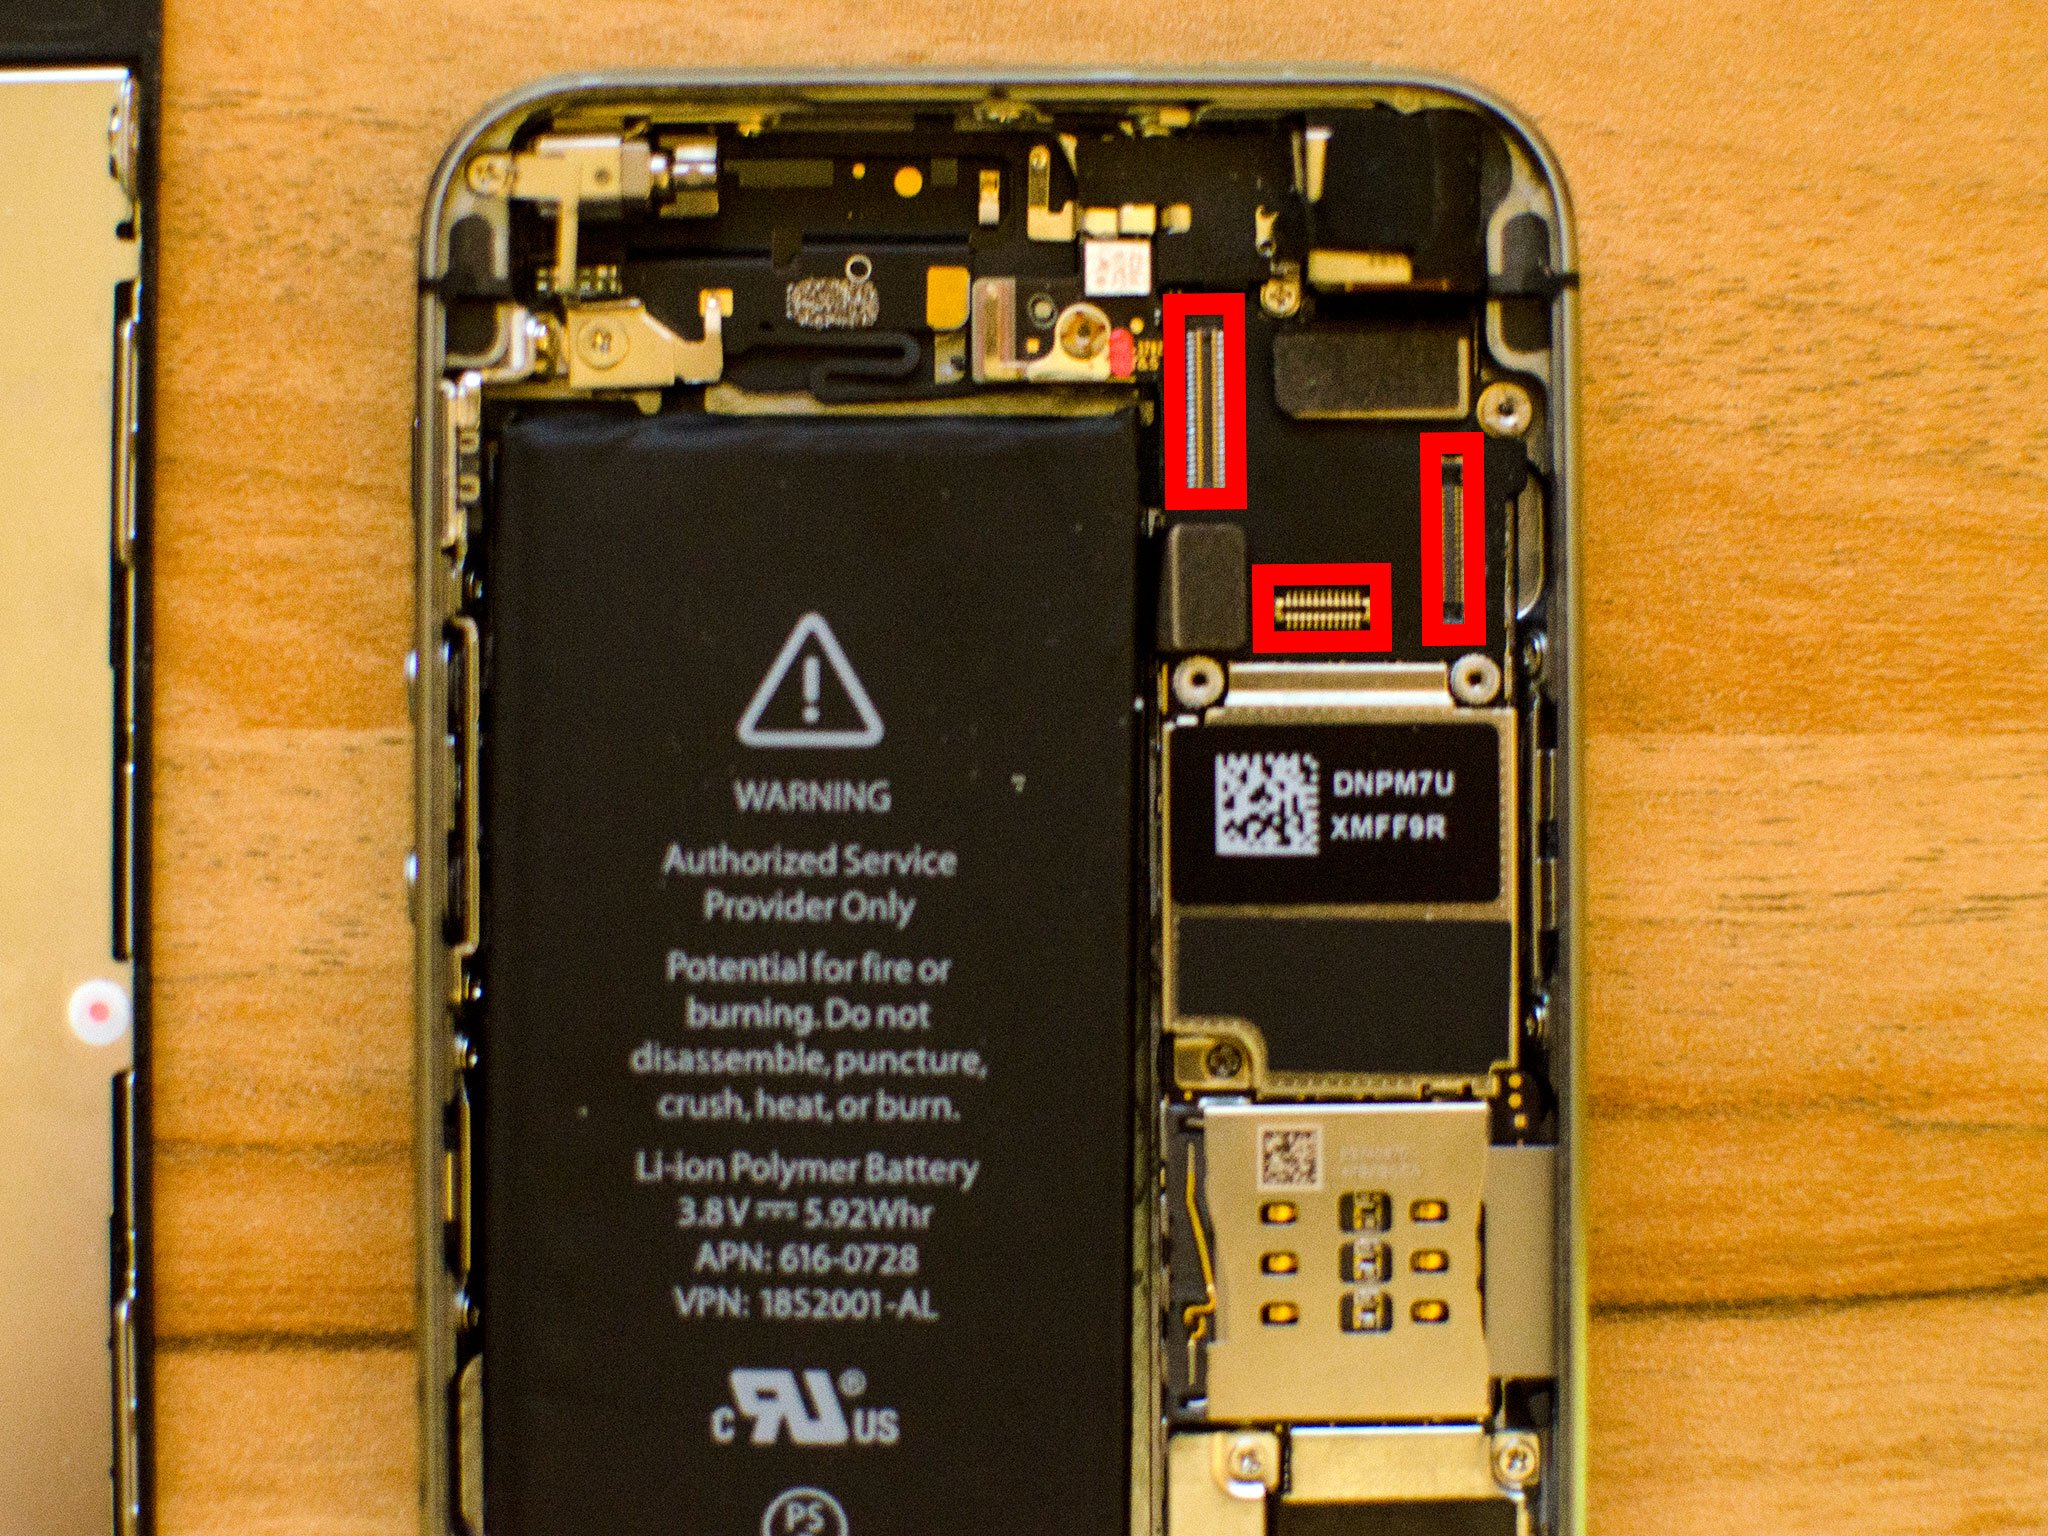
- Now use your spudger tool in guild to remove the three cables shown in the image below. You lot'll need to remove the two off to the far right in order to reveal the third and final cablevision, which sits below them.
- The display associates should at present be costless from the body of the phone. Go ahead and fix everything just the display associates aside now.


Note: We used the suction cup method here only if you lot are not able to get a firm grip with a suction loving cup you can carefully work your way effectually the bottom of the telephone between the frame and brandish assembly with a razor bract until you tin gently pry up using the flat terminate of your spudger tool instead. Nosotros recommend using plastic razor blades if you can find them since they won't crusade damage to the terminate of the iPhone'south frame.
4. Replace the Dwelling house push button flex
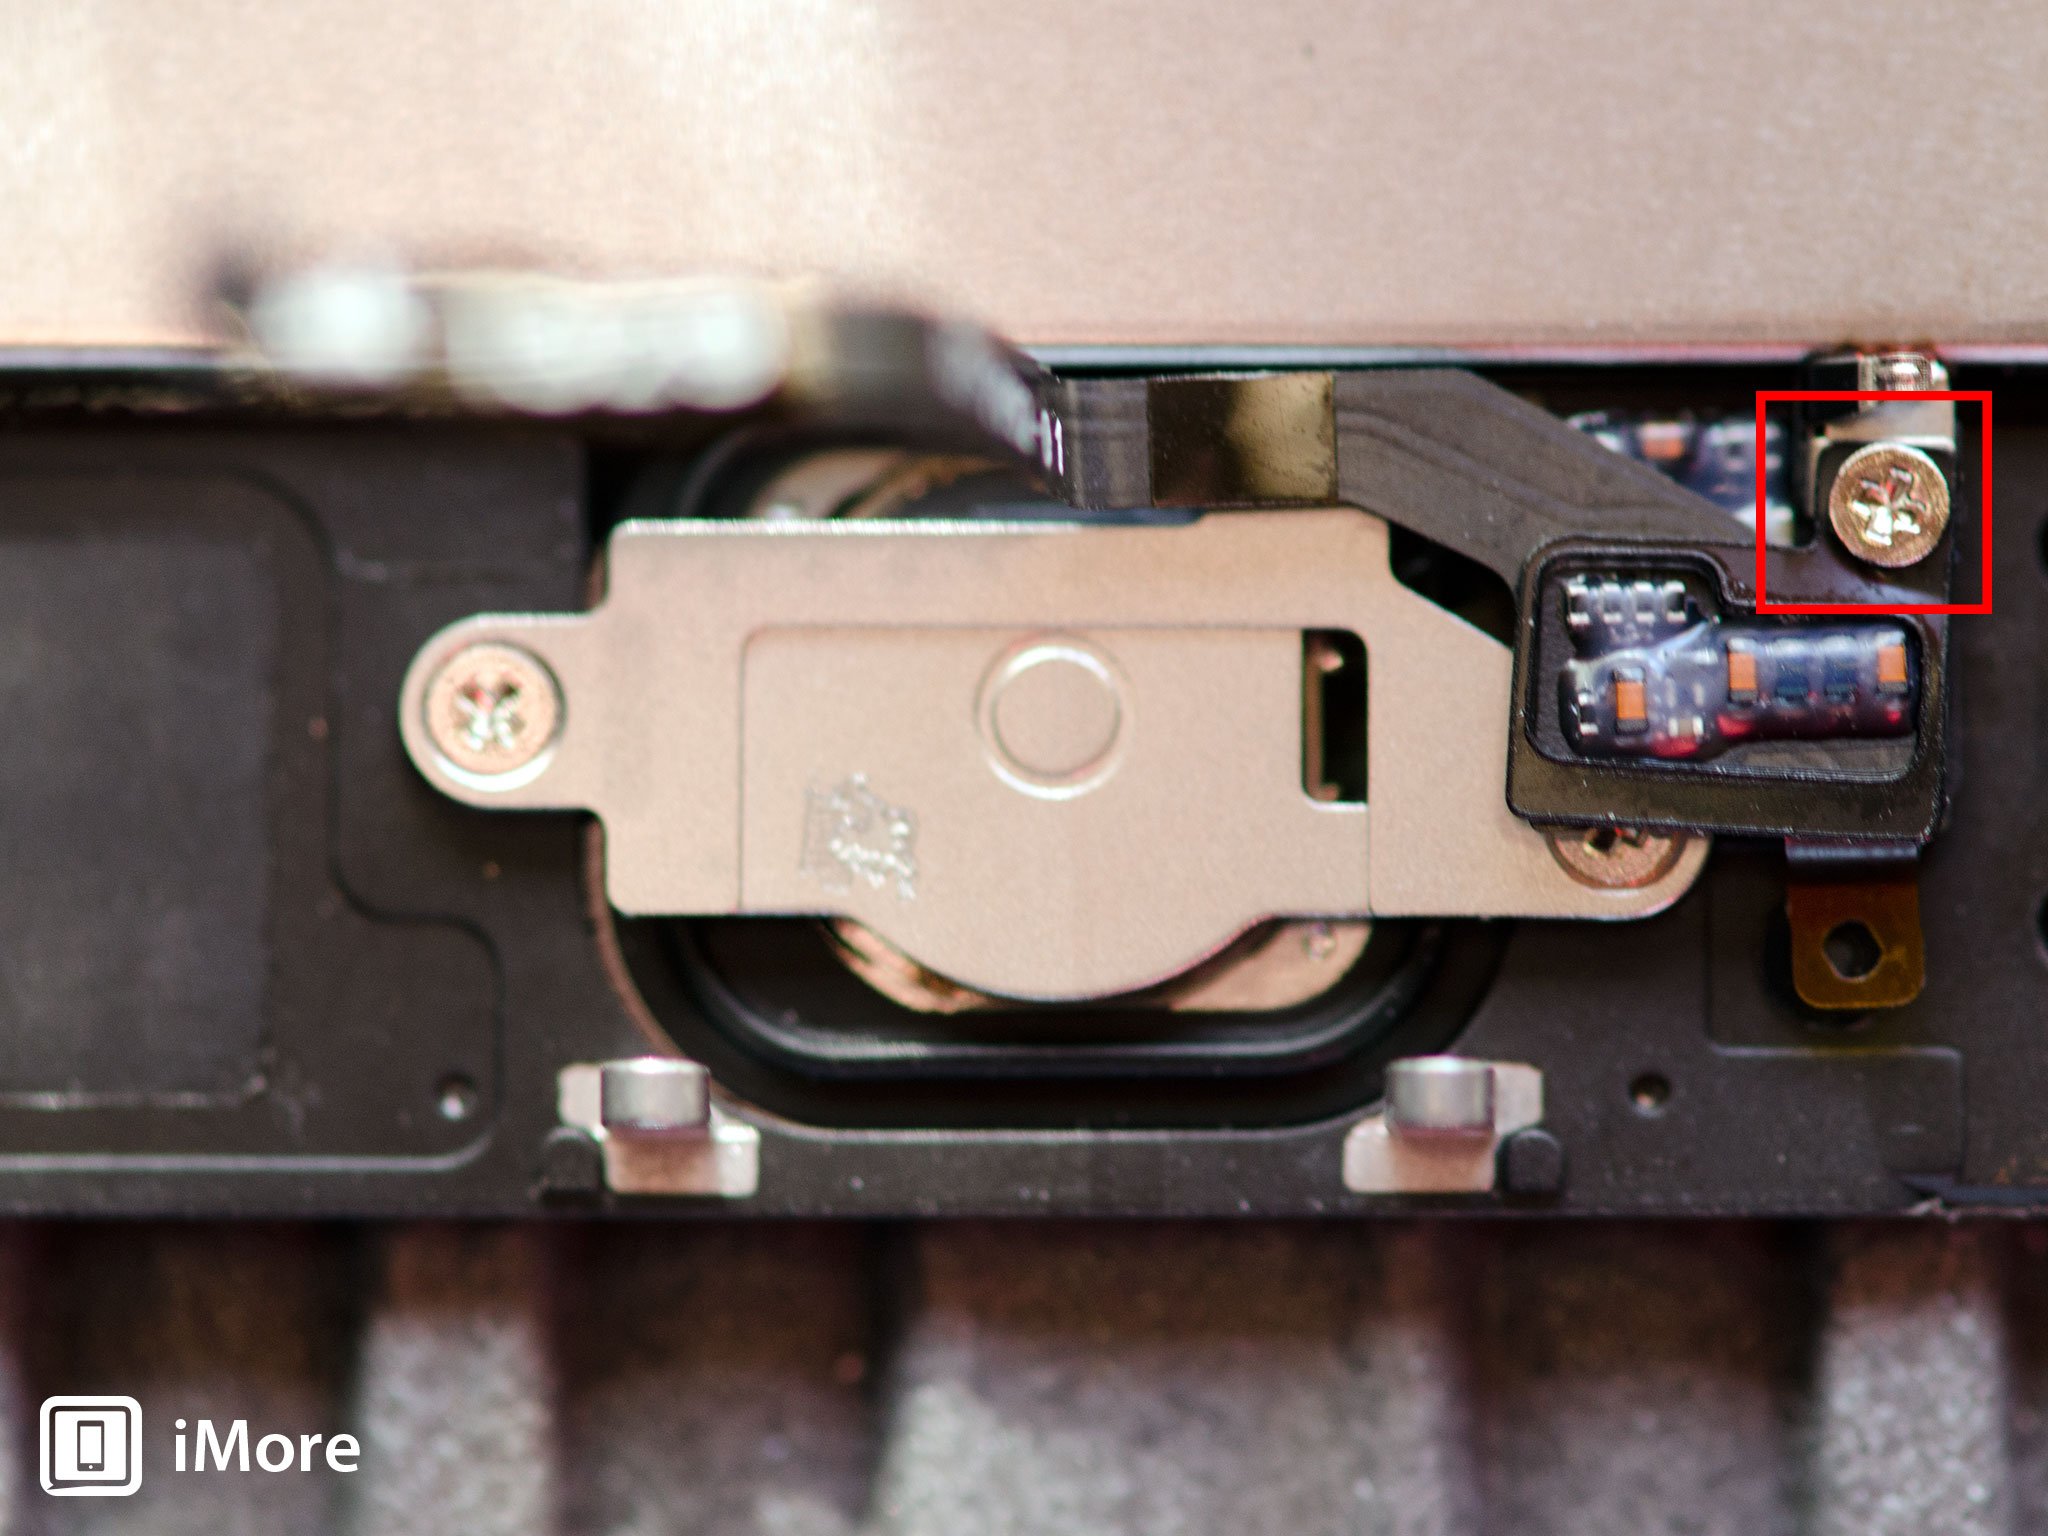
- Remove the peak right screw holding the Touch on ID cable in identify using your #000 screwdriver. In that location is a tiny metal baby-sit underneath, make certain you concur it in place so the cable doesn't spin or tear underneath information technology. Also make note of the orientation of this guard as y'all'll need to replace it again during re-assembly.
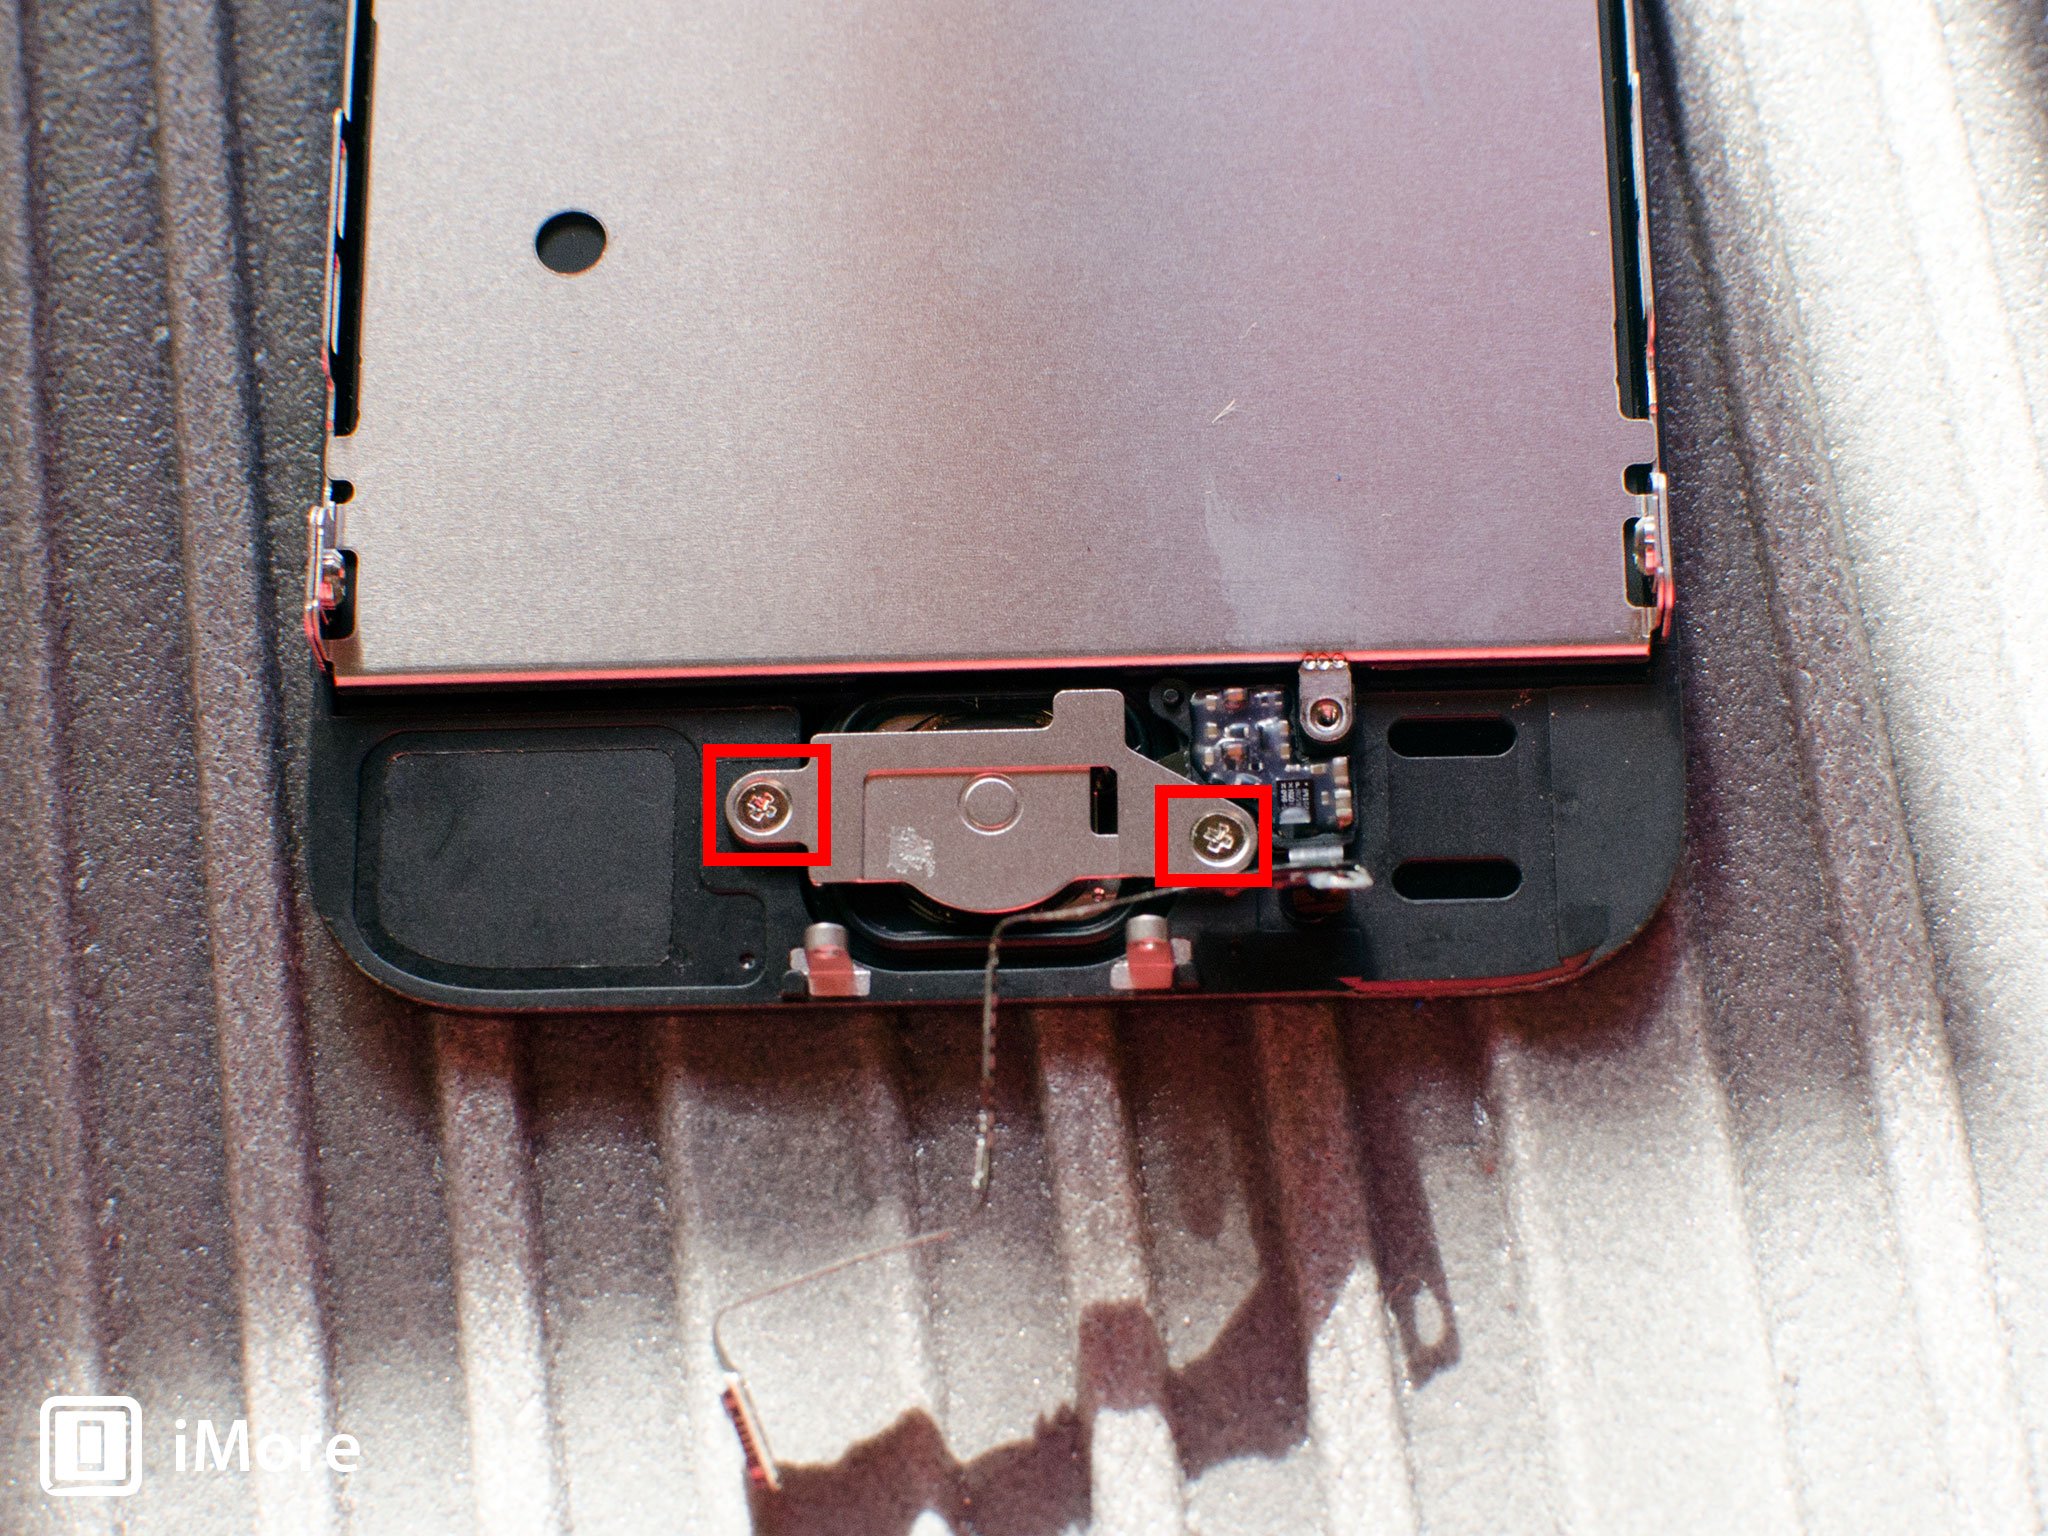
- One time you've gotten the summit screw out and set up that and the guard aside, yous tin can fold back part of the Touch ID cable in lodge to remove the ii screws holding in the shield that sits above the Home button. Again, use your #000 screwdriver.
- You can now remove the metallic shield and prepare it aside.
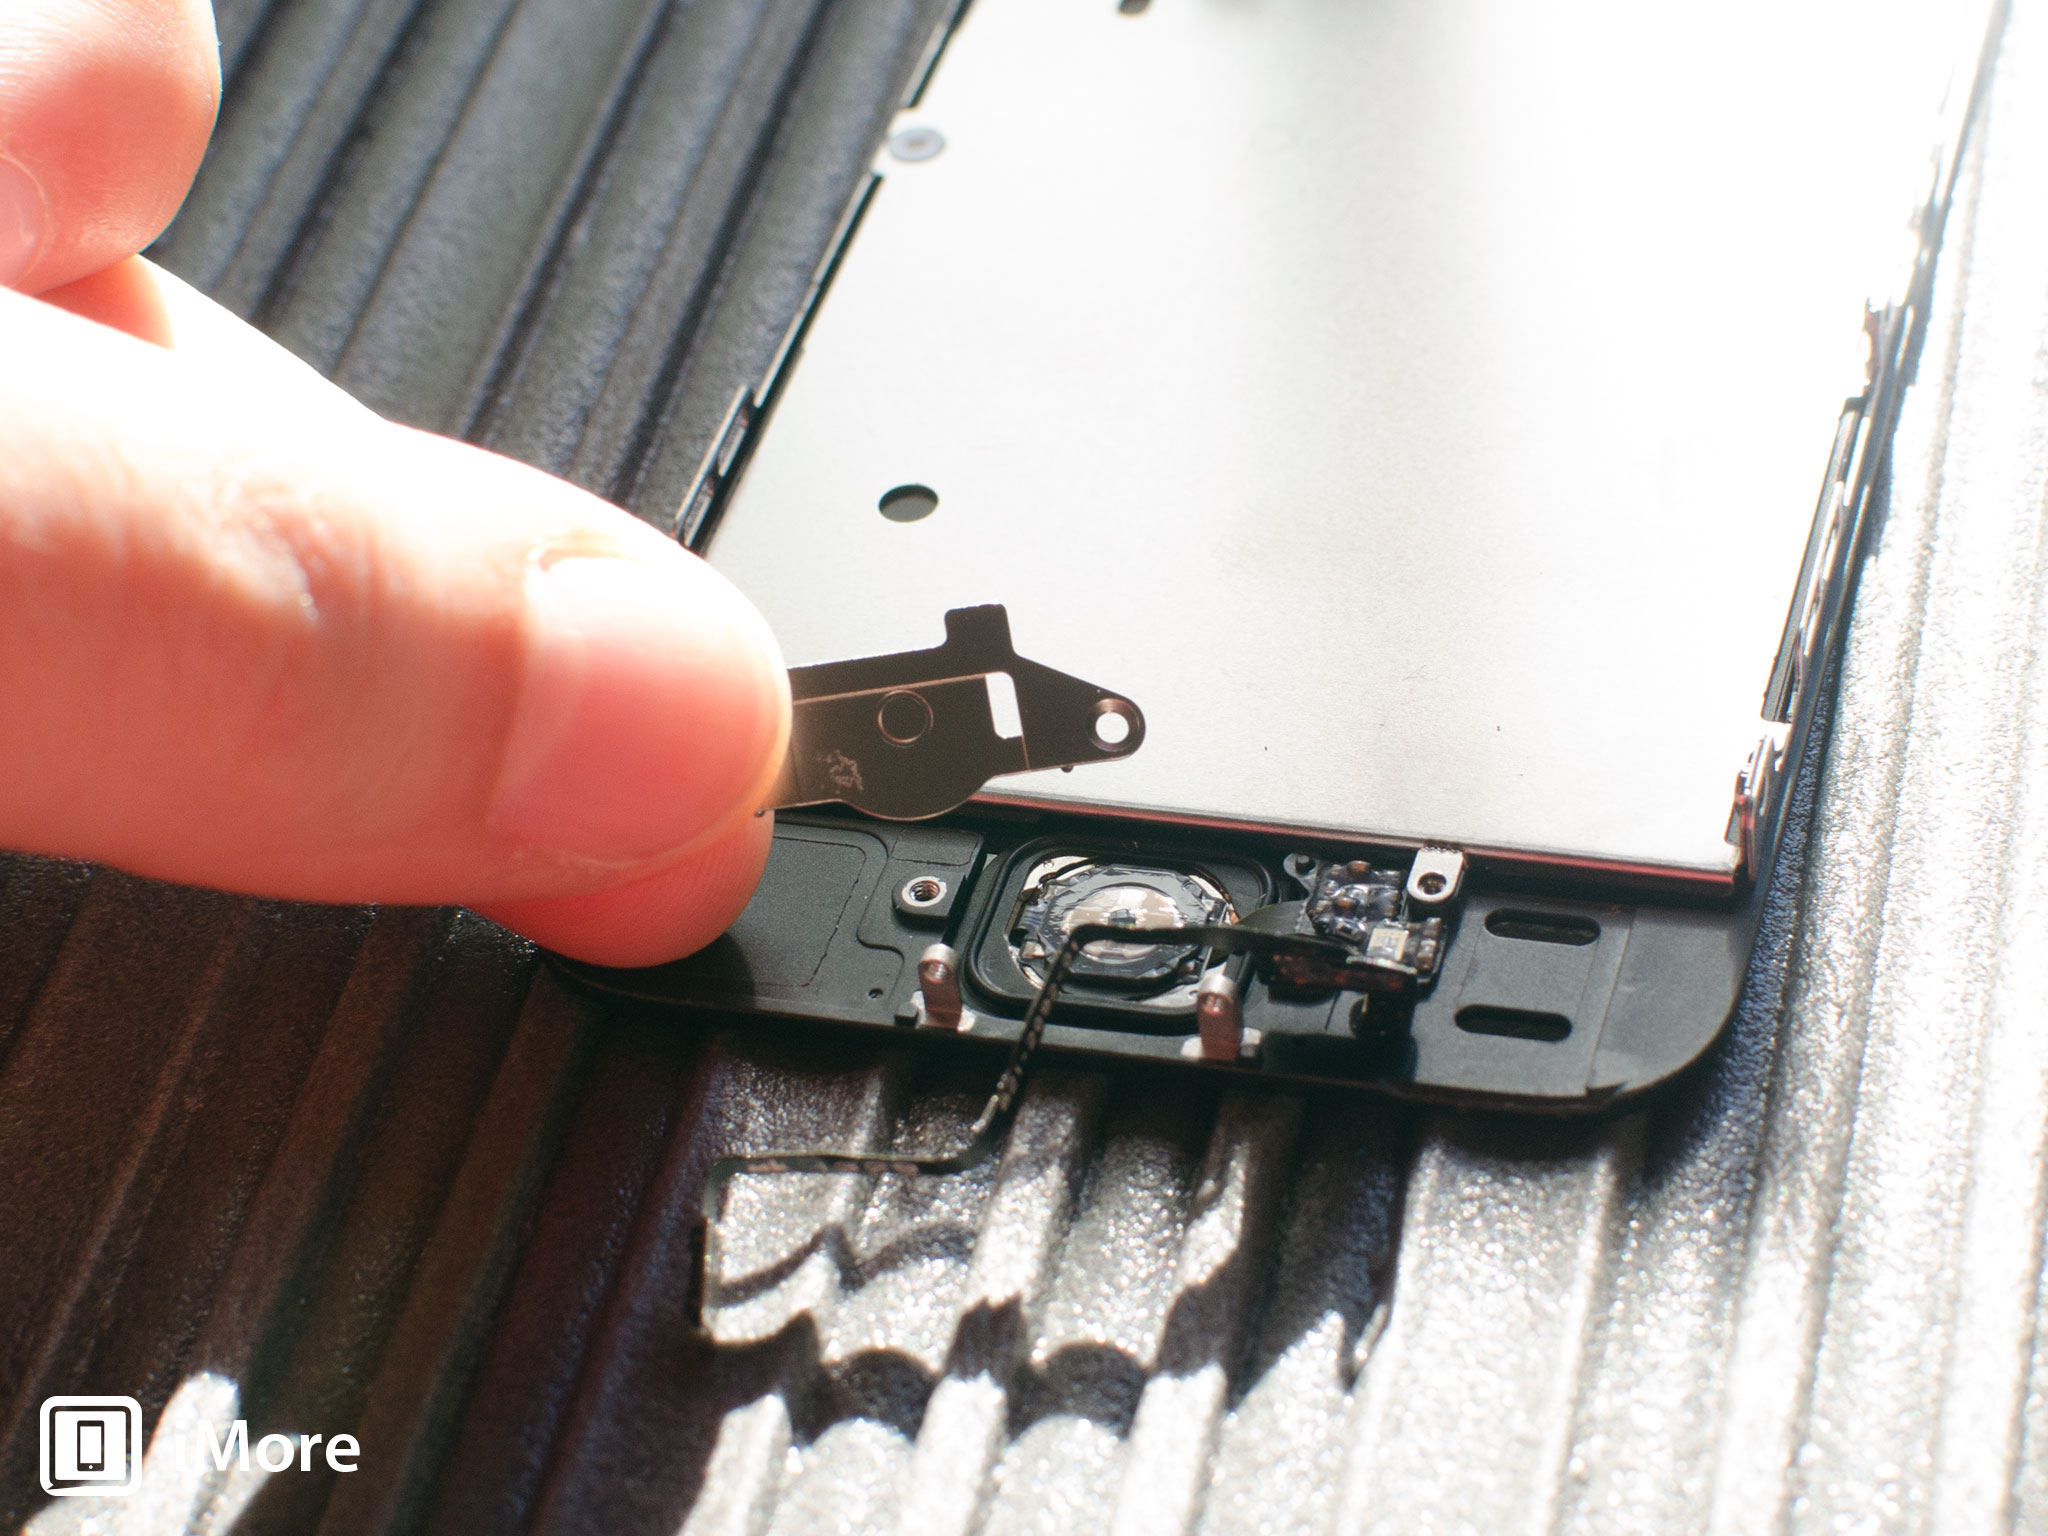
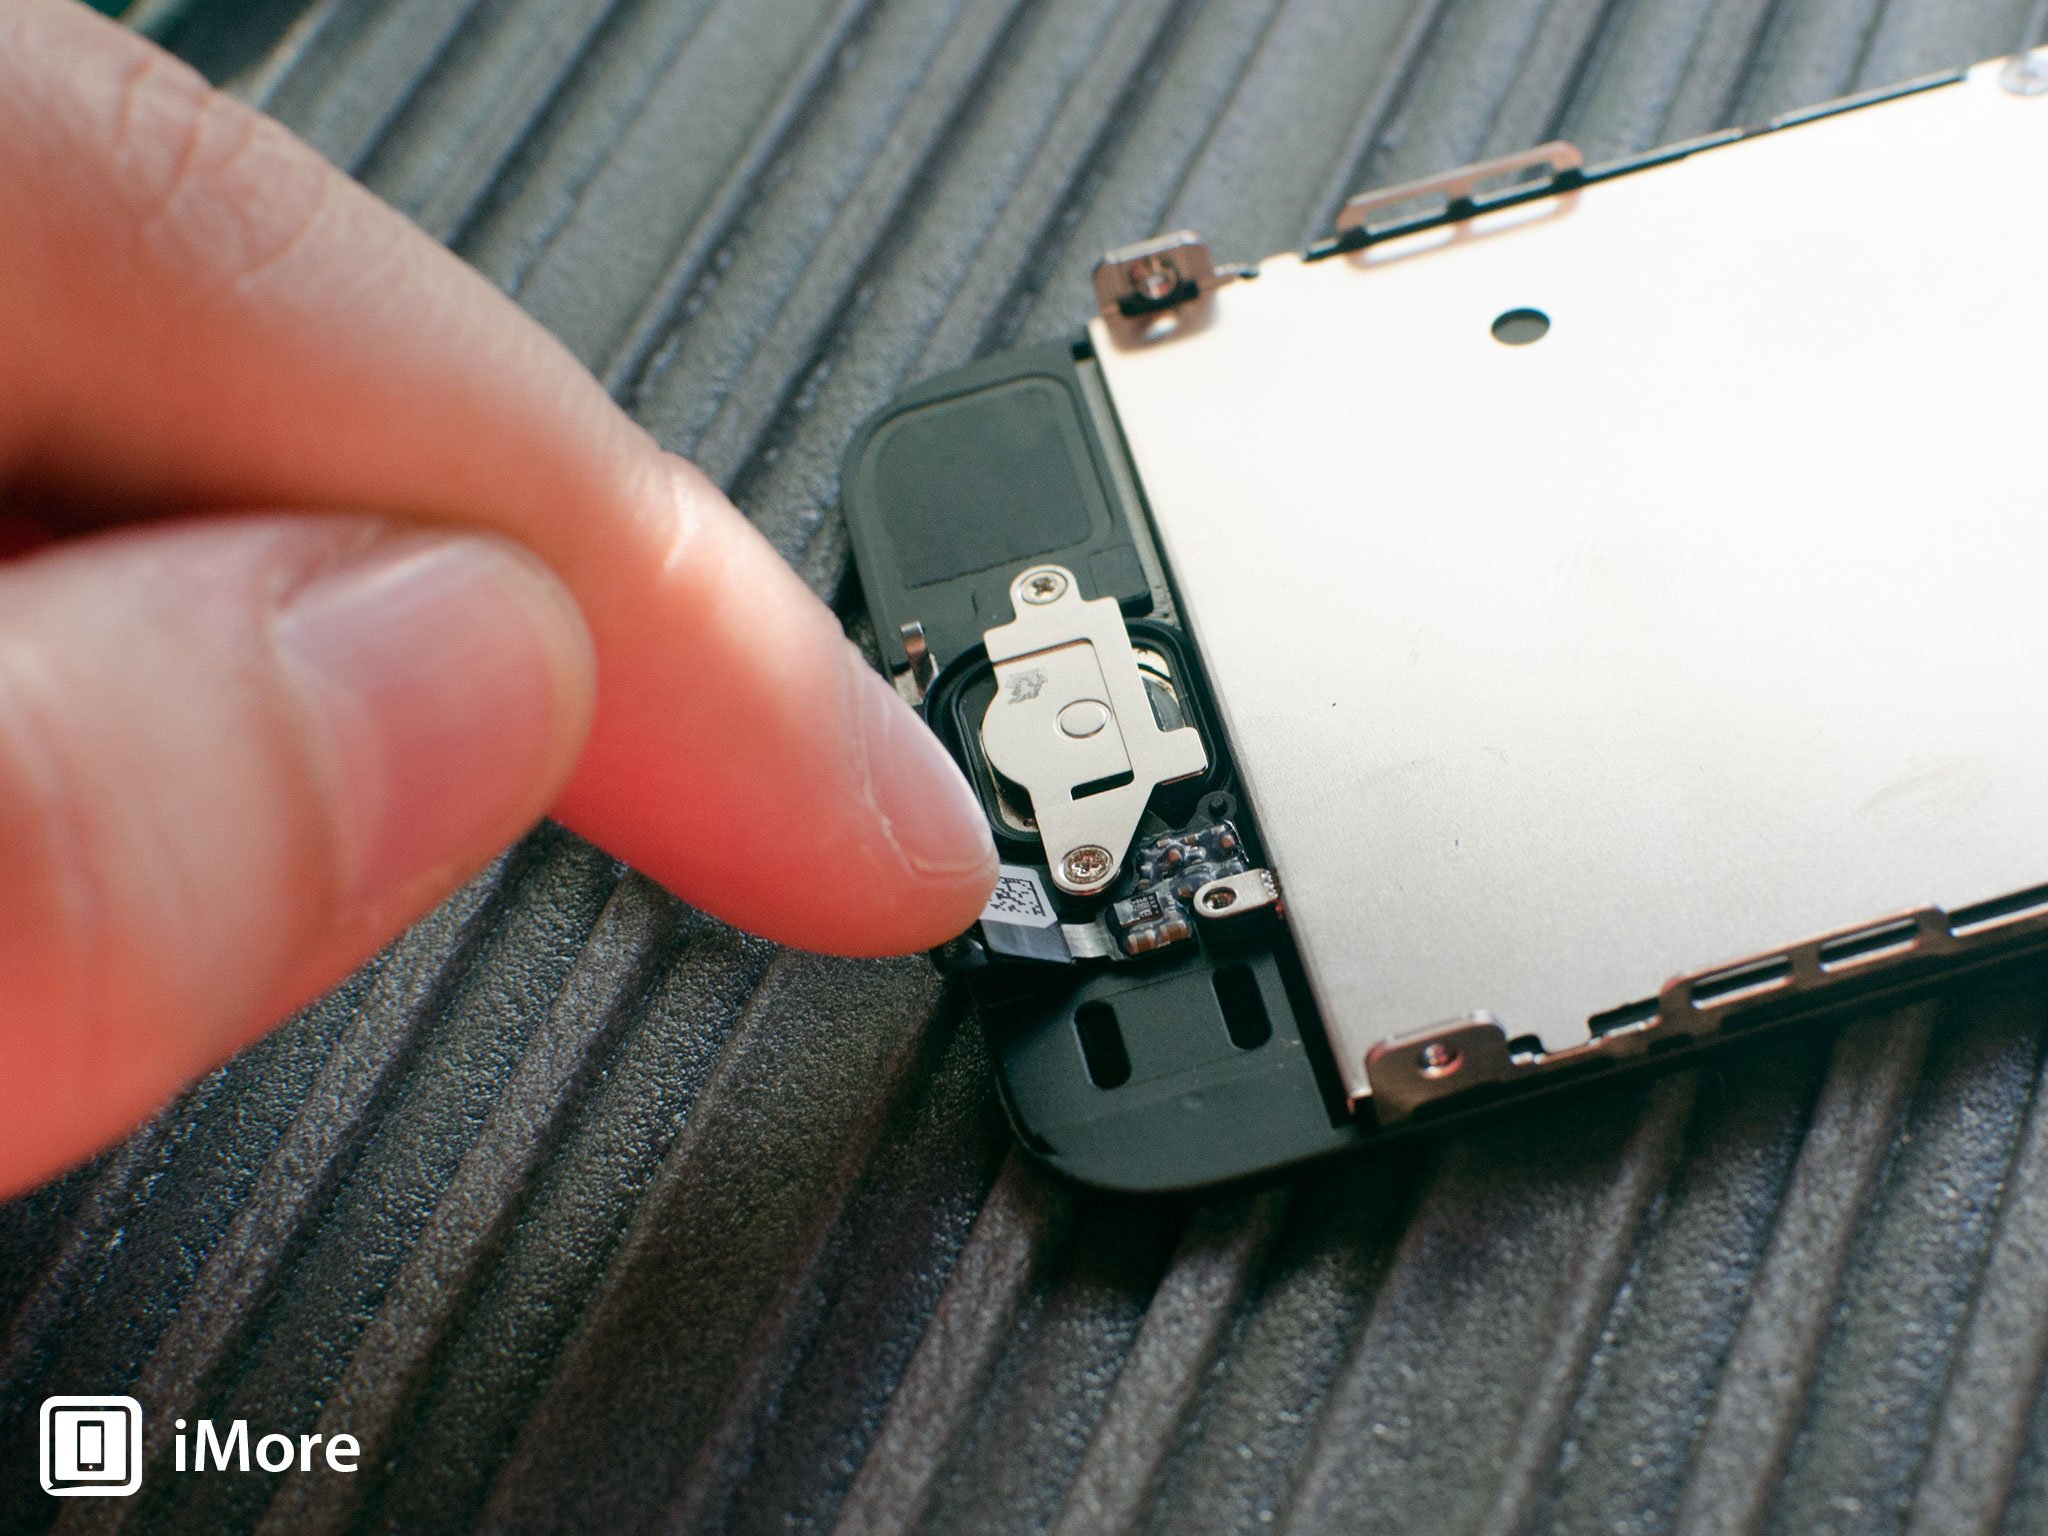
- Lastly, very carefully use your spudger tool to start prying upward the Home button associates which is held in with a bit of adhesive. Be careful doing this as information technology's piece of cake to tear cables that run to the Touch on ID sensor.
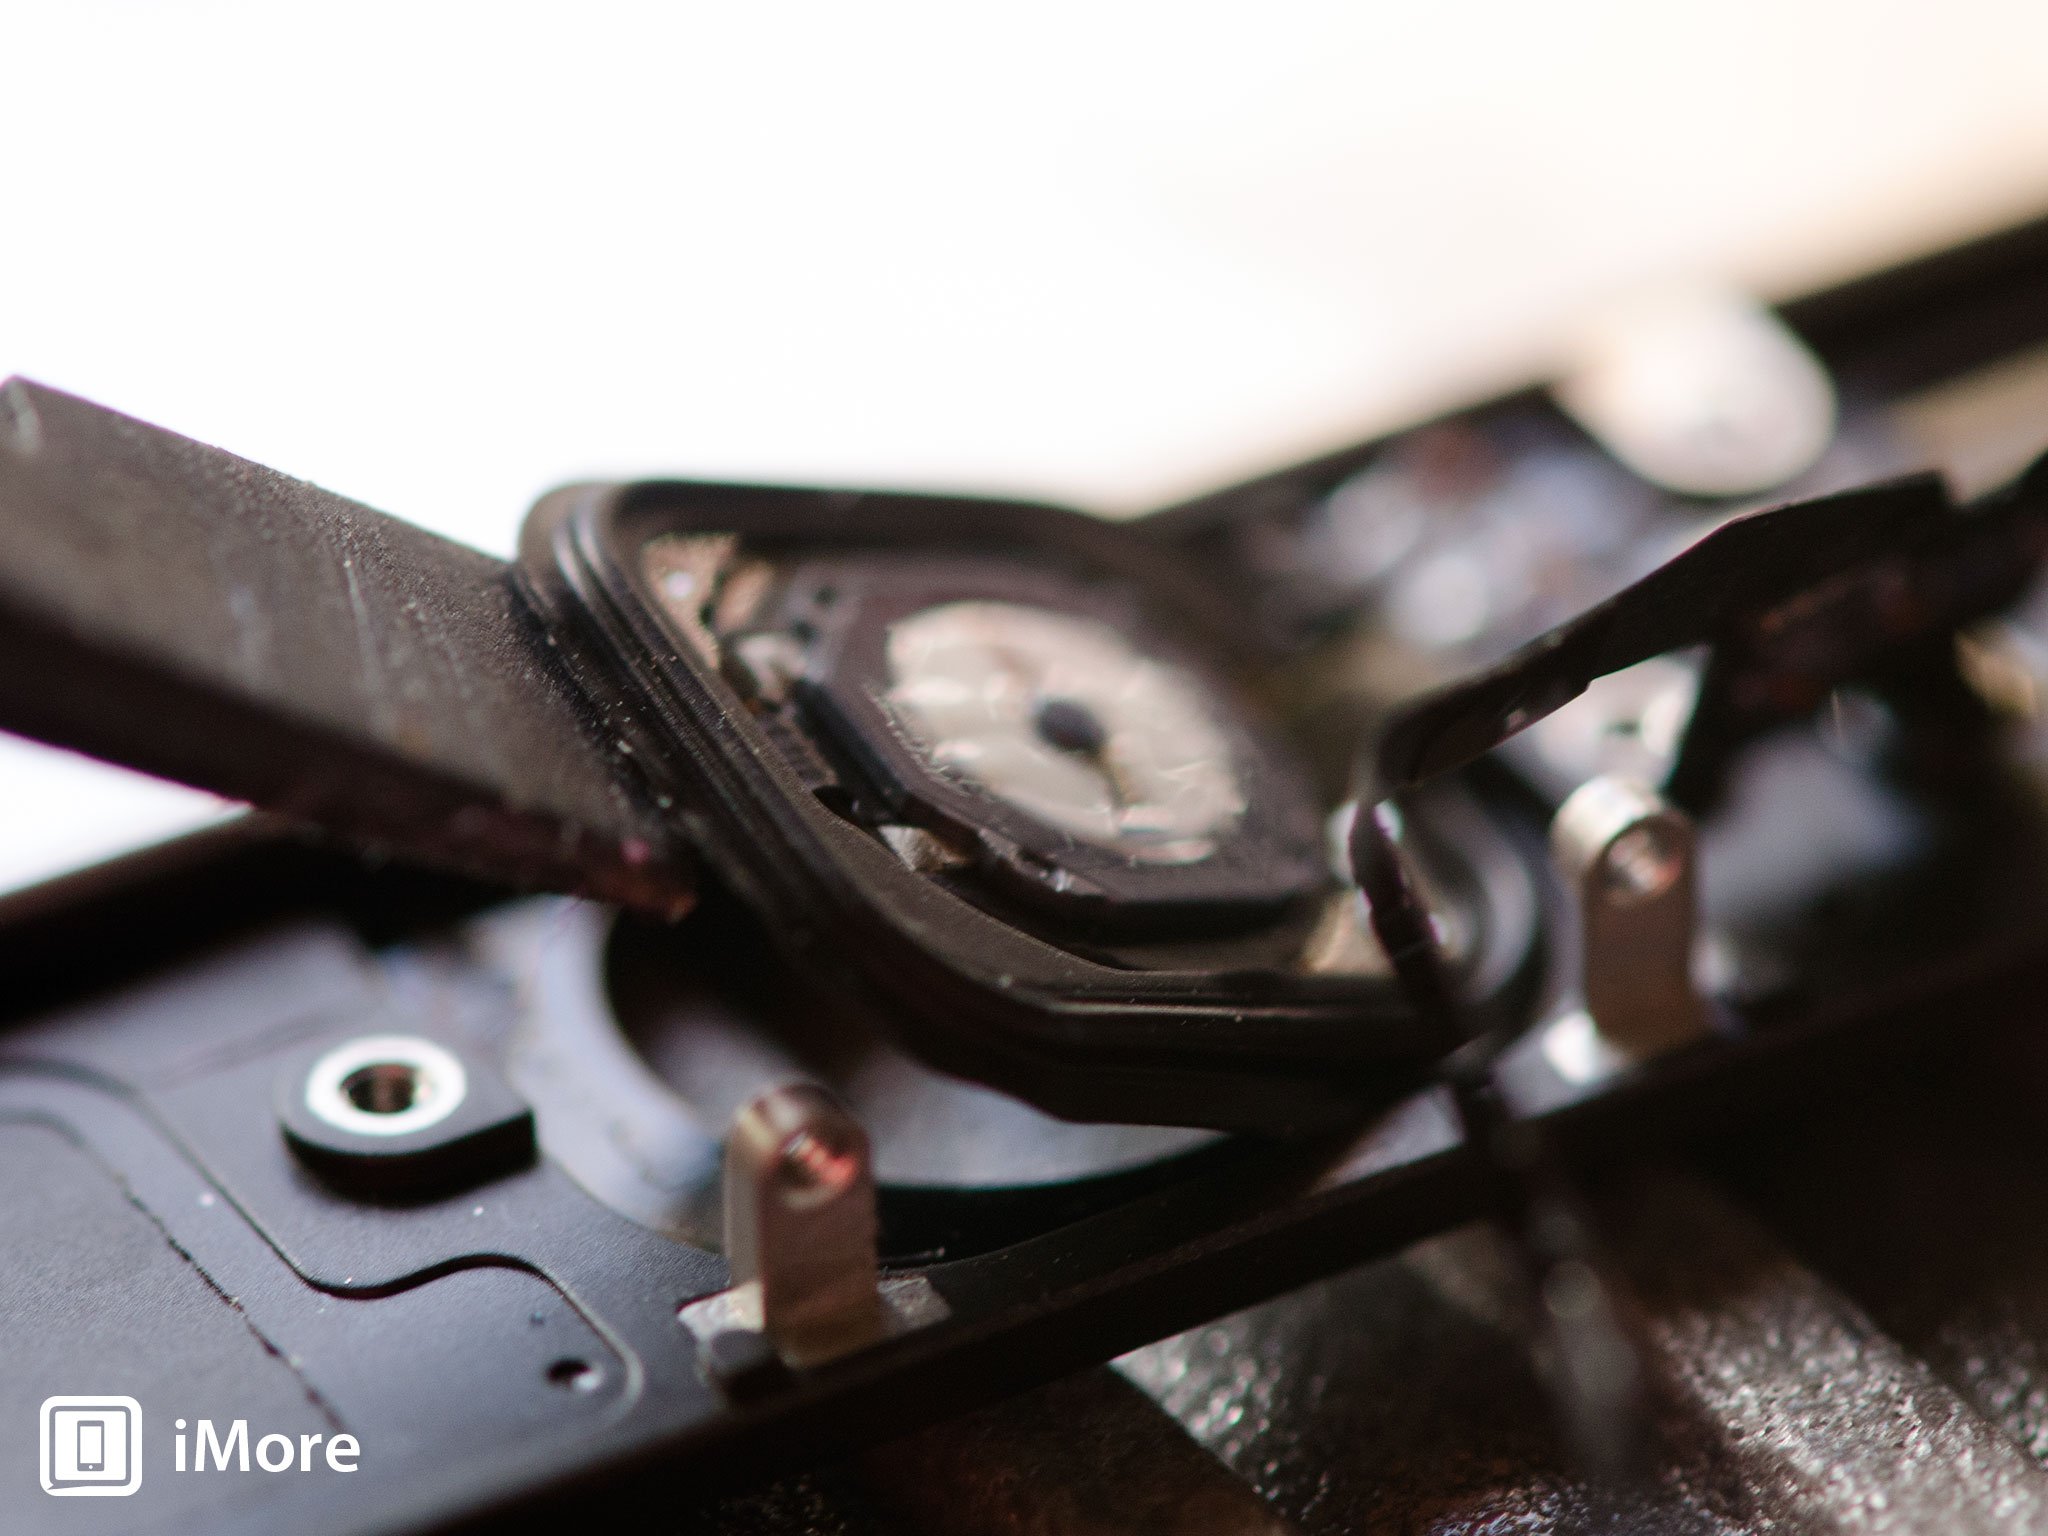
- Once you've broken all the agglutinative under the Dwelling push gasket, the entire Home button associates should lift out of the screen associates, Bear upon ID still fastened. If you're having bug removing the gasket, try heating up the push slightly to break the adhesive.
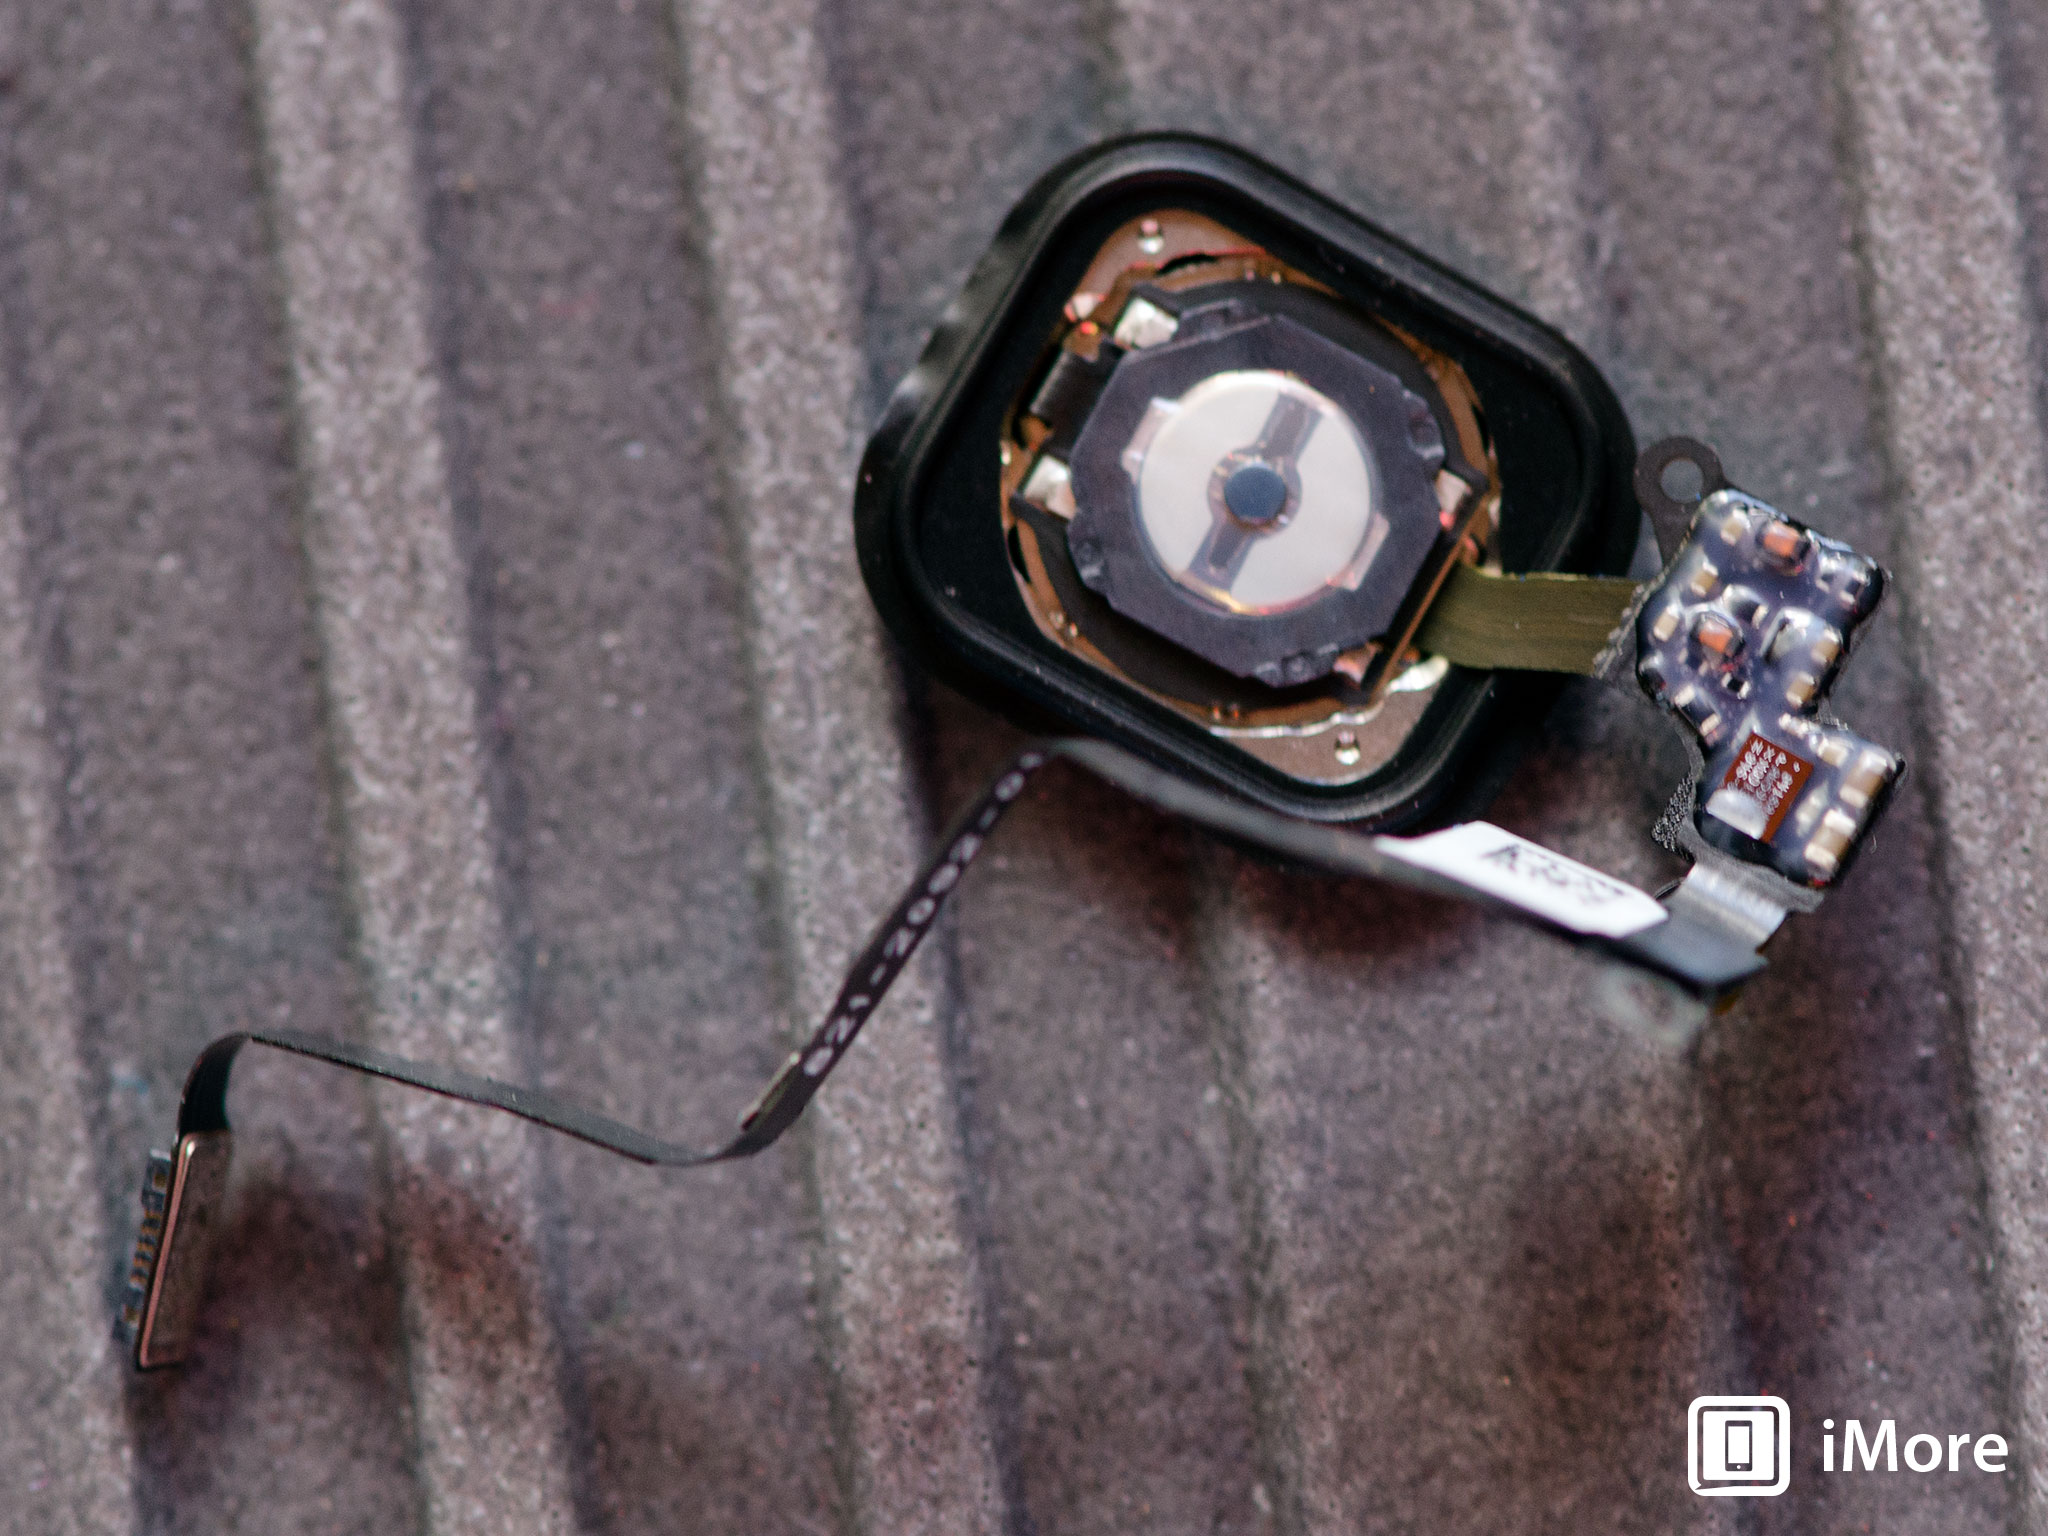
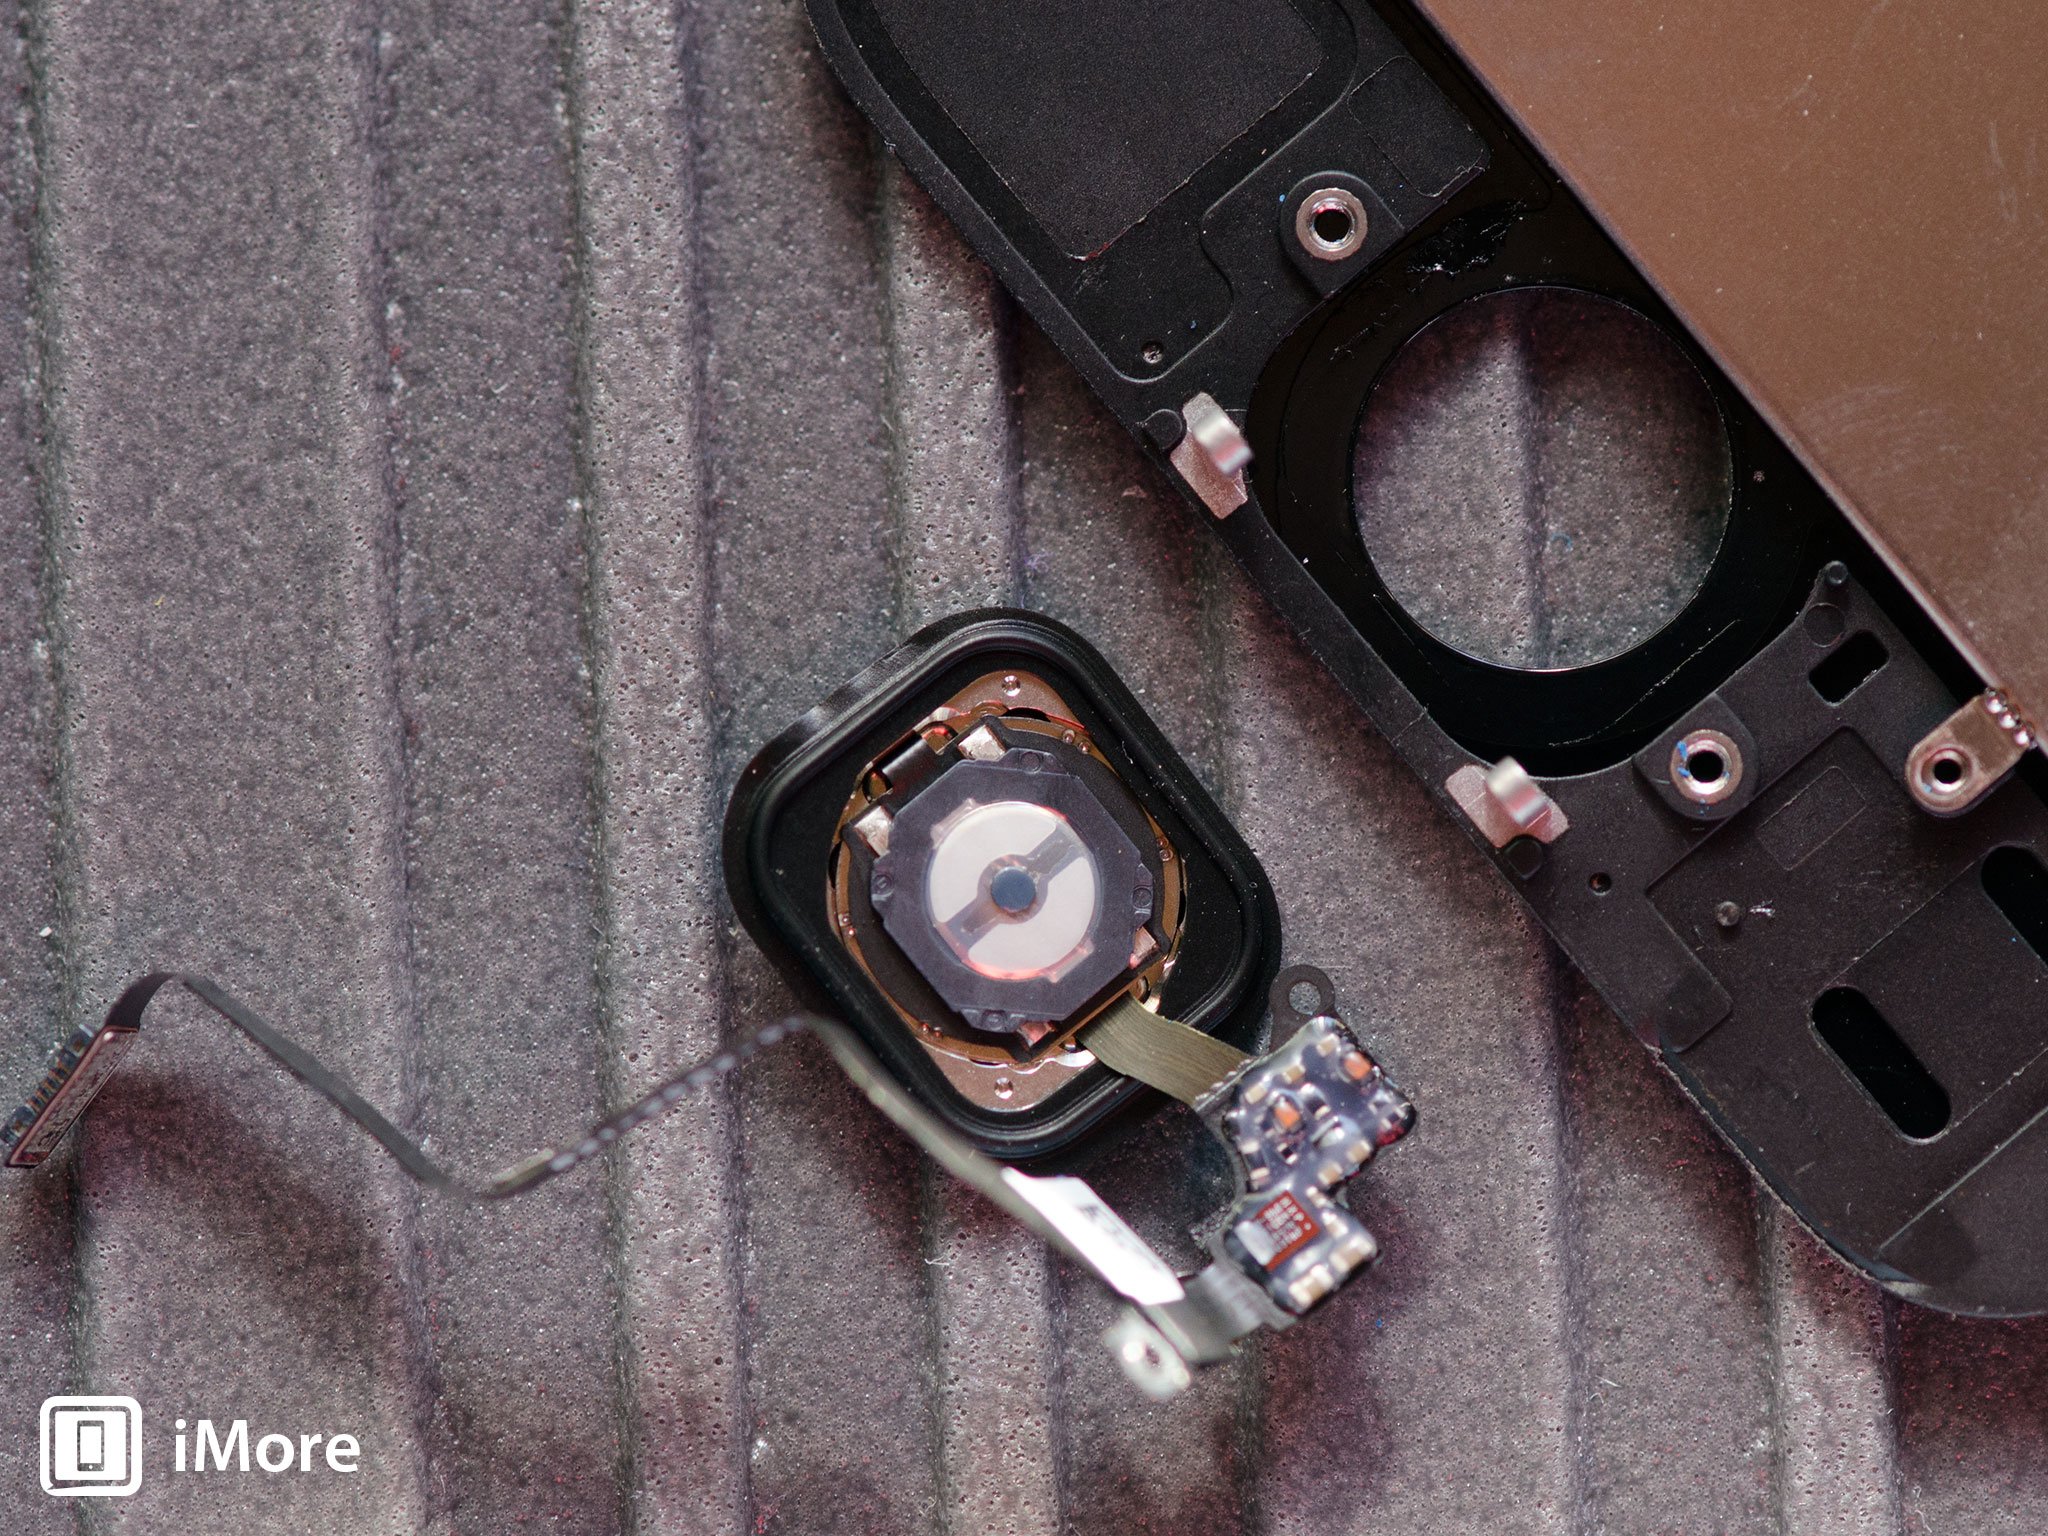
- Now simply bandy the new Domicile button flex in the old one'south place. If you ordered the parts I've recommended above from eTech, the home push is already in place. If you ordered from elsewhere and got only a flex, you'll have to transfer the Home push and gasket over to the new flex. Just be conscientious not to tear the gasket while doing this.


5. Supplant the brandish assembly
- Reconnect the three cables shown in the image below, starting with the cable to the far left, which sits underneath the other two.
- Replace the display shield using the four screws and your #000 Phillips screwdriver.
- Re-connect the Bear on ID cable to the logic board. The easiest tool to help you do this is the pointed end of the spudger tool.
- Replace the Touch on ID shield that sits over the cable.
- Carefully line up the top of the display into the superlative of the frame.
- Snap down the display until it clicks into identify.
If the display doesn't desire to go back down, do NOT forcefulness it. Instead, be sure that the pinnacle is lined upward correctly and that y'all aren't snagging any cables. There should be no resistance when snapping it back into identify. If there is, you aren't lining it up correctly.
6. Supplant the dock connector screws
Use your 5-point security screwdriver to replace the two dock connector screws that sit on either side of the dock.
seven. Test your iPhone 5s Dwelling push button
One time you lot've got your iPhone 5s fully assembled, you can go alee and power it dorsum on. After information technology boots up, perform the post-obit steps to exam the new Dwelling button:
- Concord down the Dwelling button and ensure Siri activates properly
- Double tap and triple tap to ensure those actions work
- Make sure yous can enter and get out apps equally you should exist able to with a single tap
- Concur downwards the power and Habitation to make sure your iPhone 5s reboots correctly
If everything tests out okay, you're skillful to go.
Questions?
Permit us know below.
We may earn a commission for purchases using our links. Learn more.
Can Iphone 5s Home Button Cable Re-attached Again?
Source: https://www.imore.com/how-fix-broken-home-button-iphone-5s
0 Response to "Can Iphone 5s Home Button Cable Re-attached Again?"
Post a Comment